If you own a business, you may seek the most effective marketing strategies to take your business experience to the next level. However, none of them will bear fruit if you don’t have a “hook” to catch the viewers’ attention and draw them to purchase your products.
That is when product photography comes into play. If you are a new business owner looking to expand their workflow and advertise their products, you are in the right place. We will tell you all about product photography for beginners and teach you how to master this art quickly with the help of advanced tools.
In this article
What Is the Purpose of Product Photography?
You may be wondering how product photos can impact your business and the purpose of such images. Here is the importance of product photography in all its glory.
Visual Representation
Many people are attracted to aesthetics and are looking for visually pleasing products. If you want to attract a broader audience and more buyers, you should use product photography as your weapon. Your images will breathe trust and reliability, some of the essential factors in the shopping industry.
Branding
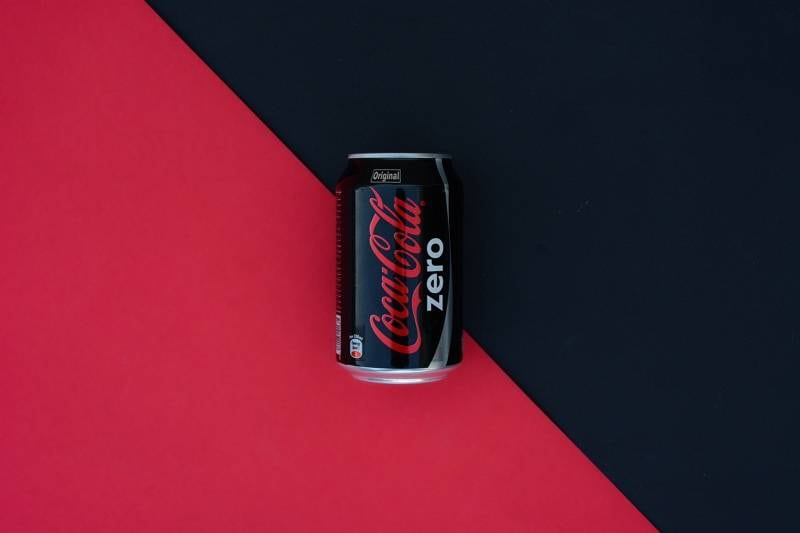
Since you may be dealing with significant competition, creating a recognizable brand is essential for climbing the competitive ladder. People will view your images and instantly recognize your brand in the sea of other shops. Thus, you should use product images to create your brand and niche and become unique.
Advertising
Advertising is one of the main components of all successful businesses. If you are a new business owner who wants to expand their workflow, you should start working on effective ads, targeting the correct audience. Product photography is one of the best practices to help you reach your goals, representing your products in the best light possible.
Comprehension
Sometimes, people need help understanding the purpose of specific products so they can purchase them. Incorporating in-context images into your professional product photography journey will let your viewers know the sole purpose of your items while creating a comprehensive market.
Equipments Beginners Need for Product Photography
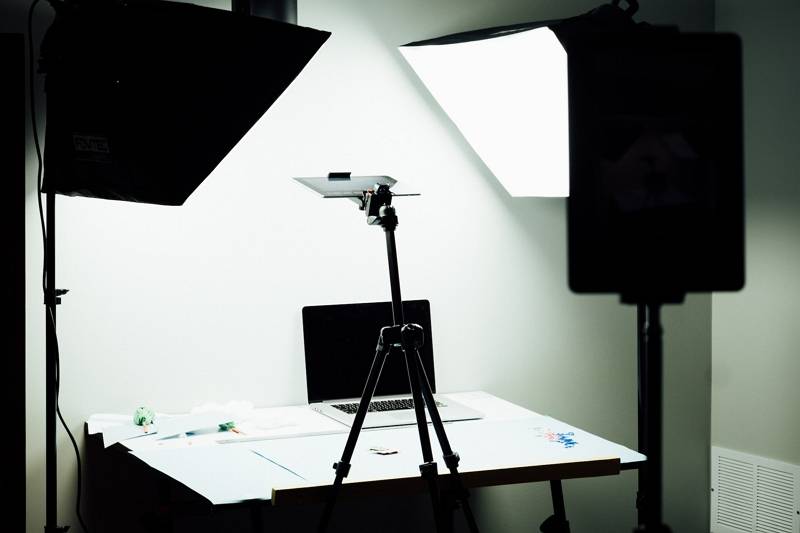
If you are interested in starting your photography journey, you should start considering the equipment you need to master this art. As a beginner, you won’t need many items to begin producing high-quality images. Here’s a list of the essential product photography equipment for beginners:
1. Camera
You can use all the elements above all you want, but your images won’t be high-quality without a professional camera. Thus, you should invest in a camera and lenses to take professional shots.

2. Lighting equipment
Nothing can brighten up your photos more than appropriate lighting. If you don’t have access to natural light, you should invest in artificial solutions, such as LED panels and diffusers, for the best results.
3. A tripod
If you want to reach maximum quality and avoid shaky, noisy images, tripods will be your best friends. Moreover, you can adjust your desired angles to always take the perfect shot without breaking your back.
4. Background
Loud and vibrant scenes can only lower the quality of your product images, making your items unimportant. To put the products into the first plan, you should invest in monochrome, light backgrounds.
5. Props
Sometimes, you can make your images more visually pleasing by using props that accentuate the product’s purpose. For instance, if you sell perfume, you can invest in raw ingredients to convey the perfume’s smell.
6. Editing software
Editing is half the work, so invest in advanced editing solutions to maximize your efficiency and image quality. Also, try AI product photography tools, such as Booth.ai, to heighten your experience.
How To Build a Product Photo Portfolio as a Beginner
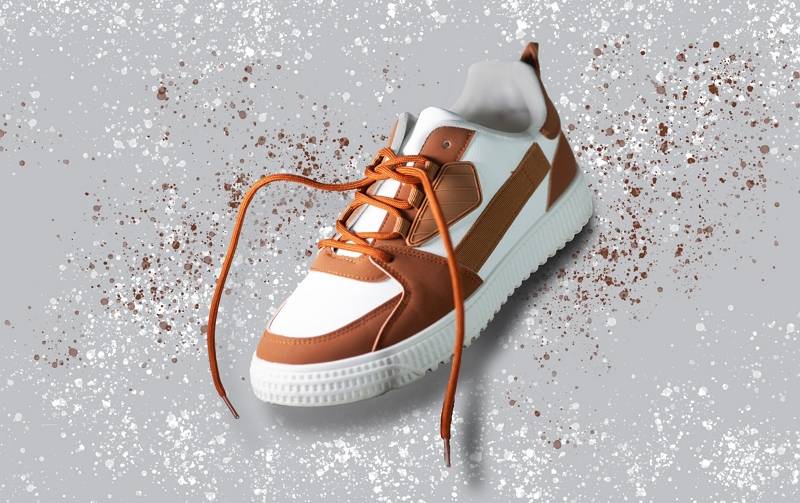
If you want to take up product photography as a profession, you need a solid portfolio to attract customers. As a beginner, creating your portfolio may be challenging, but with the help of our guide, you can create your professional advertisement and reach your career-boosting goals. Here’s what you need to do:
- Select a niche – you should specialize in specific product types. For instance, you can be produce-oriented or choose cosmetics as your profession. You can select the field depending on your preferences. Moreover, have a distinguished editing style to stand out from the crowd.
- Choose your images carefully – select the product photos that accentuate your style and niche. You should also opt for images you like the most and ask your family and friends about their opinions.
- Start slow – you can create a professional portfolio by taking pictures of the products you have at hand. If you haven’t had a gig, your items can be just as good for a professional look.
- Get certificates – you can attend courses for product photography for beginners and earn certifications that will prove your professionalism and trustworthiness. You will gain new skills and have new images to put into your impressive portfolio.
- Go online – you can create a website or social media profile to show off your latest product images and boost your online visibility. Moreover, you will gain a fanbase and interest new customers in your breathtaking photos.
Essential Elements of Product Photography
Now that you have learned what equipment you need for your professional journey, it’s time to see the crucial elements of product photography for beginners that will level up your skills.
1. Camera Angles and Viewpoints
Angles can tell a story and create an atmosphere, so choose them carefully. Depending on the types of products you photograph, you can experiment with various viewpoints and discover the ideal ones.
For instance, if you are taking professional cosmetics photos, you can use an aerial view to make them appear sensitive and put the products in the first plan. On the other hand, if you want to promote the brand, you can use top angles to capture even more intricate details.
2. Framing Your Shot
Most beginners need help finding ideal frames for their images. To make that easier, you can use the grid on your camera. You should also ensure little to no negative space that may distract viewers from the main object. Your product should always be in the central three gridlines; people will notice it first rather than pay attention to surrounding elements.
Symmetry is one of the basic rules of perfect framing. Incorporating this element into your images will make them look cleaner and visually pleasing.
3. Photo Composition

Photo composition is an element that will convey your message and create an atmosphere in your images. Thus, experiment with photo composition to find the features that best fit your photography style and niche.
You can add lines and elements that will lead to the main object and tell a story behind it. For instance, you can add vapor and smoke around a men’s perfume to accentuate masculinity and explain the perfume’s strong scent.
4. Lighting and Shadows
Lighting and shadows are responsible for highlighting in product photography. You should always ensure that you don’t cast a shadow on the critical elements in your images and that the products get enough light.
If you don’t have enough lighting and deal with shadows, you can fix these issues with editing tools. Moreover, you can further brighten up your images and highlight the product using lighting editing tools.
5. Image Size and Quality
Your product images should be big enough to support changes, such as cropping and editing, while remaining high-quality. For instance, their size shouldn’t surpass 2,000 pixels to avoid noise and image pixelation.
On the other hand, the ideal resolution will depend on the purpose of the product images. For instance, if you plan to upload product images on an ecommerce website, keep them around 72 PPI. However, if you use them for catalogs or billboards, you should opt for a higher resolution, such as 300 PPI.
Tips for Product Photography Beginners
Since you have learned the basics of professional product photography, let’s dive into product photography tips for beginners to accelerate the learning curve and boost your skills quickly.
1. Use a Tripod
Tripods are the foundation of all product images. They provide stability and consistency, leading to the most outstanding results. You can adjust the angles, play with long exposure, and create the perfect environment just by using this simple piece of equipment. They are responsible for stable, clear images every professional photographer should make.
A tripod can save you time when setting up the scenes. You won’t have to change your positions or recenter your products, making it one of the most efficient tools for your photography journey.
2. Try Different Angles

To reach perfection, you need to experiment with your projects. Angles are the essential elements that can change your image’s atmosphere and story. You can try different perspectives and see their impact on your art. Then, you can choose your ideal angles according to your preferences and the desired message.
Discovering ideal angles may require some time and adjustments. However, once you find one, you will become unstoppable.
Angles are also essential to creating your brand, and you will be recognized according to your camera angle style.
3. Choose Interesting Stands
You can use different stands to place your items to elevate and highlight your products. This method will make your products dominate the image and accentuate its purpose. However, most of the stands in professional photos are bland and monochrome, so level up your game by designing them and using different materials.
For instance, if your niche relies on the boho style, you can use wooden stands and elements to define the natural atmosphere while putting your products in the spotlight. You can also use metal boxes for more durable, sharper products to elevate the vibe.
4. Experiment With Macro Shots
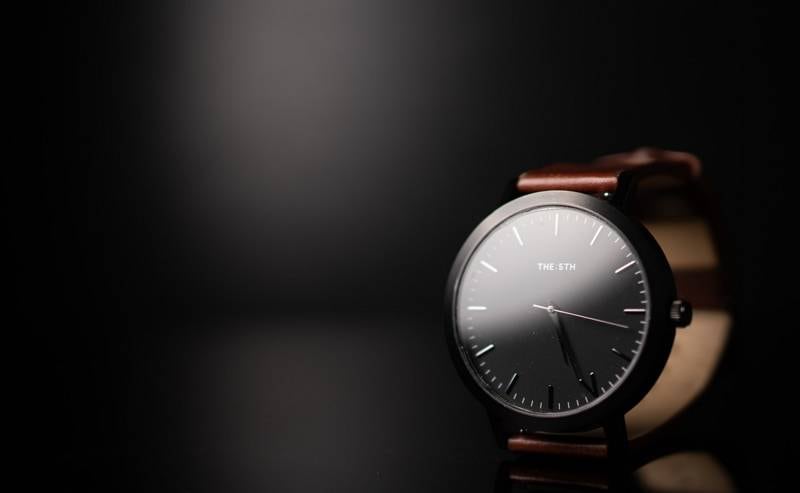
Macro shots focus on the details. If you want to present even the minutest elements of your products, a macro lens might be your perfect choice. For instance, if you photograph a hand-made wardrobe, you can use a macro camera to show the audience the materials and the exact color.
Moreover, you can capture the brand’s details and put them in the spotlight. You will focus on developing the brand and the product by shooting product image close-ups. You can experiment with macro shots and discover how they can help you build your niche.
You may also like: best macro camera for jewelry photography
5. Use Reflective Surfaces
Reflective surfaces are an excellent choice for taking shots of smaller objects. You will add depth to your images and make the items look bigger and better. For example, add a mirror below your earrings to elevate their look and give them a new dimension.
Moreover, you can use foils and other reflective materials to create unique shadows in your images. If you take pictures of summer products, such as bikinis or sun protection creams, you can use this method to bring warmth into your photographs and add realistic shadows.
6. Create Interesting Backgrounds
You can also experiment with your backgrounds to convey a specific message and create an atmosphere. However, be careful with these experiments as they can turn the focus away from your main objects. Your products may not stand out if you have loud and vivid backgrounds.
Instead, you can try different styles to define the product’s purpose. For example, if you sell cocktail sets, you can use warm, summer-like backgrounds to create an entertaining look. You can also use wooden backdrops for eco-friendly products to tell their story.
More related tips:
7. Experiment With Lighting
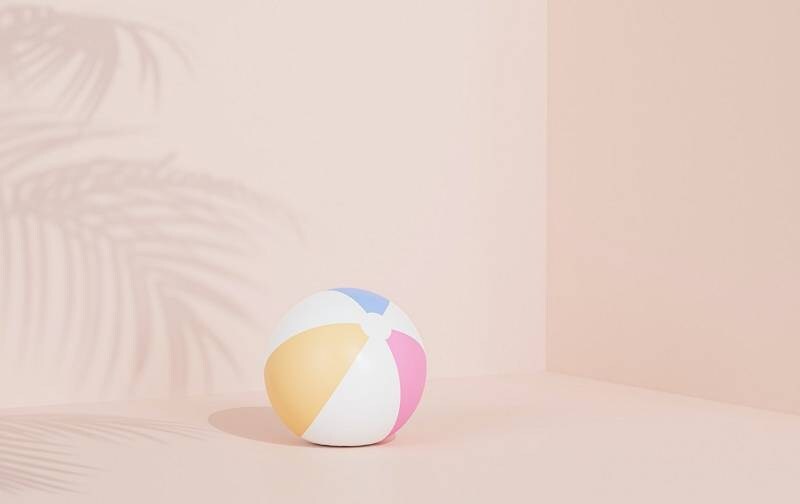
Lighting is one of the critical elements of professional product photography. Proper lighting and shadows can help you reach your photography goals and convey the desired message.
That is why you should experiment with lighting and discover your ideal environment. You can use dimmed lights to create a romantic feeling or level up the brightness to represent entertainment. Change the direction of your light and its strength to find the ideal solution for your products.
You may also be interested in: best lighting for clothing photography
Use AI Tools to Make Unique Product Photos [HOT]
Artificial intelligence has transformed people’s lives in the past couple of months. It expands to other industries, such as photography, giving all professionals simple and quick editing solutions. You can experiment with AI tools to create extraordinary images and change the environment. You can also generate new ideas using these tools’ advanced features.
One of the best AI product photography tools you can use is Booth.ai. It allows you to create the most visually pleasing product images even if you don’t have professional equipment. This intuitive program can also help you build your portfolio and climb the competitive ladder. Here’s how to use Booth.ai to elevate your images:
- Step 1: Create an account on Booth.ai.
- Step 2: Upload your product images.
- Step 3: Input the desired design, niche, and additional elements you want your new picture to have.
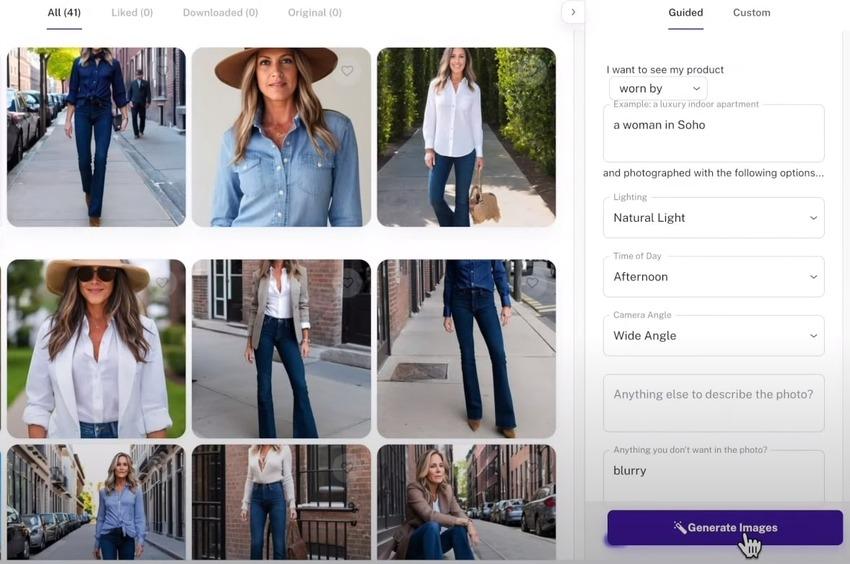
After a few seconds, you will receive image variations that fit your preferences. You can download the best image and add it to your astounding portfolio.
Conclusion
Professional product photography is one of the most exciting and fulfilling professions. You don’t need exceptional experience to enter the industry; you only need creativity and motivation to succeed.
If you want to start your professional journey, follow our tips to start on the right foot. Implement our product photography ideas for beginners and get the necessary equipment and other essentials for a successful journey. Good luck!

