
Luxury chocolate photography may seem simple, but more complex than you think. It involves both science and art to capture this delicious cocoa-based treat in a way that looks tempting. Like movie props that lose their charm in real life, chocolate can lose its allure if not photographed correctly. The magic of chocolate lies in its aroma, taste, and how it feels to hold it. To create classy and elegant images, follow this guide to master the art of luxury chocolate photography.
In this article
5 Perfect Types of Shots for Luxury Chocolate Photography
Luxury chocolate photography can be a fun yet challenging task requiring artistic and technical skills. To capture the essence of luxury chocolates, it's essential to use various camera shots. Now, let me share the top five best types of shots for this kind of photography.
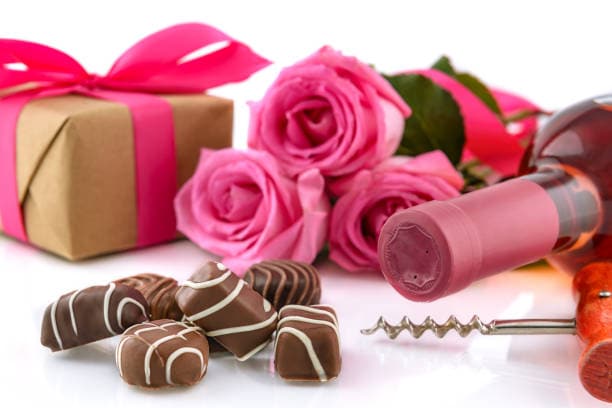
1. Packaging Shot

Customers get a better sense of your branding and what to expect in the mail if they know how your product is packaged. Capture the elegance and allure of the chocolate packaging. Frame the chocolate box or wrapper to highlight its design and luxury. To achieve this effect, use a shallow depth of field to keep the focus on the packaging while creating a soft background blur. Because packaging contains branding and other text, the shot must also include them in framing.
2. Individual Shot

Individual shots can highlight one product in all its glory, providing good evidence of your product's greatness. These are the staples of product photography. Focus on a single chocolate piece or product. This shot allows you to highlight each piece's intricate details and textures. To achieve this effect, use macro photography to get up close and emphasize the deliciousness of the chocolate.
3. Detailed Shot
A detailed shot is a close-up shot that highlights your product's features from all angles, such as quality and texture and zooms in on key details. Zoom in on the fine details of the chocolate, such as the luscious drips of melted chocolate or the delicate swirls on the surface. Use a macro lens and proper lighting to showcase these intricate features and create an alluring image. With a shallow depth of field and an out-of-focus background, your shot will highlight the beauty of the chocolate while hiding any flaws.
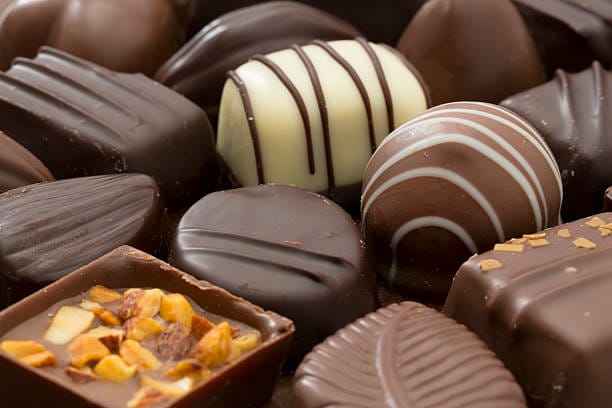
4. Group Shot

Group shots are useful for documenting items sold in multiples, such as a set or box of chocolates. Arrange a visually appealing assortment of chocolates in a composition. This shot is perfect for displaying a variety of flavors and shapes. Experiment with different angles and lighting to make the chocolates look inviting and tempting. You can use a simple side-by-side layout for more creative and dynamic composition. A grouping can depict a product's depth, variations, and different sides and angles in a single eye-catching image.
5. Scale Shot
Scale shots visually communicate how big or small your products are. While product descriptions may include dimensions, product photos can be misleading. Showcase the size of the chocolates relative to other objects or props. This shot can help create a sense of luxury and grandeur. A camera does not see what our eyes do, so experiment with different perspectives and props to add depth and interest to the image.
Important Things to Remember When Shooting Luxury Chocolate Photography
Photographing luxury chocolates needs extra care because your subjects are delicate and easy to melt. But even as a beginner, you can transform these delectable treats into visually stunning works of art that enchant your audience. So treat it carefully and follow these simple shooting tips to ace luxury chocolate photography.
1. Prepare everything before the shoot (including props, set, and the chocolate itself).
Having the right equipment and props and setting up a suitable environment are critical when capturing stunning photographs of luxury chocolate. The background and props you use can greatly impact your truffle images' overall look and storytelling. Also, ensure your product looks its best, without finger marks, smudges, or imperfect edges.
Chocolate is highly sensitive to environmental factors, and its appearance will be influenced by temperature, humidity, and handling. As a result, it is critical to carefully plan and prepare everything.
2. Plan the composition.
Remember to consider the composition when planning your photography session. The rule of thirds can help you strategically place the chocolates and other props within the frame, resulting in a visually balanced image. Experiment with various angles and perspectives to add dynamism and intrigue to your shots. A top-down view can highlight the intricate details and patterns of the chocolates. Moreover, a low angle can provide an immersive and unique perspective.
3. Install proper and adequate lighting.
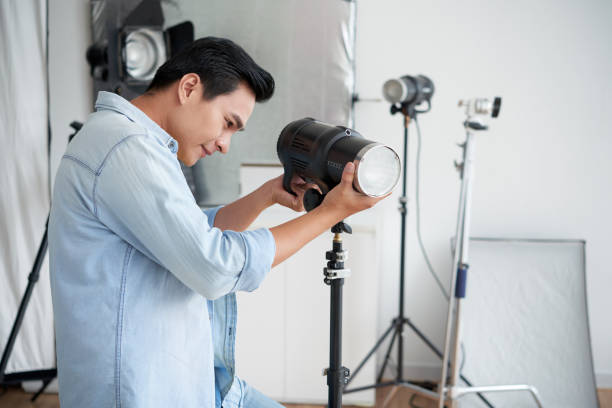
There are two primary lighting options: natural light and artificial setups. Although chocolate should not be exposed to direct sunlight, the right natural light can help make chocolate appear even more delicious. Artificial lighting can improve the definition of details but ensure the chocolate isn't left standing for too long in front of a hot bulb.
Many details of dark chocolate will disappear if the lighting is too dark, and white chocolate will be washed out if the lighting is too bright. If at all possible, avoid using flash because the light will reflect off the naturally glossy surface of the chocolate.
4. Decide on the lens you're going to use.
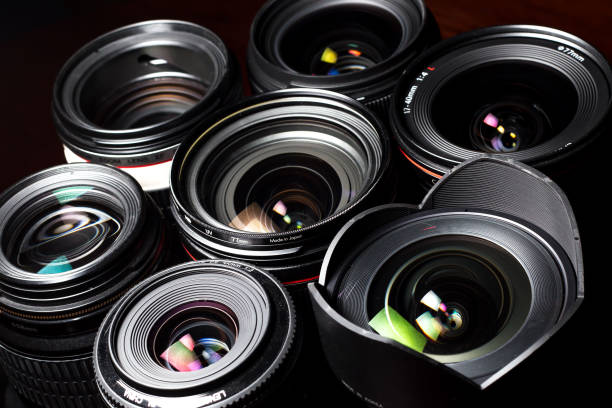
The lens you use depends on your photograph subject and how you want to present it. When it comes to chocolate photography, a close-up of your subject is essential. When you're close to the chocolate, a 35mm on a cropped sensor or a 50mm prime lens will work well. A shallow depth of field combined with a blurred background will help draw the viewer's attention to the subject. To give your creative chocolate photography a dreamy look that draws the viewer in, use the lowest f-stop possible.
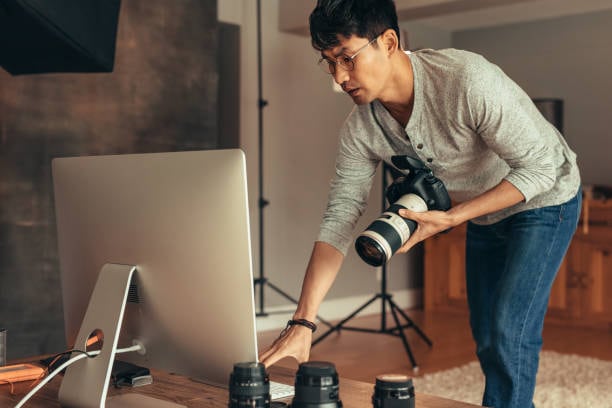
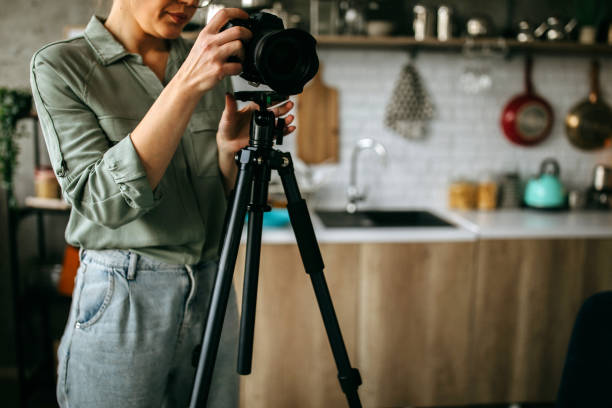
5. Fine-tune your camera settings and use a stabilizer or tripod.
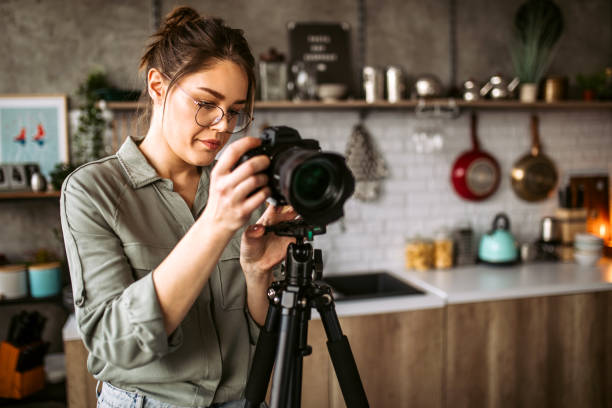
When you set your camera to automatic, it does its best to judge the light and produce an optimal, well-balanced, well-lit, in-focus image. On the other hand, shooting manually transfers control from the camera to the photographer. You'll be able to adapt to different situations more easily and make more informed decisions about your image's appearance once you understand the concepts behind the settings.
Consider using a tripod to stabilize your camera, especially if you're shooting in low light or need precise framing. A remote shutter release can also help with camera shake reduction.
6. Post-process the photographs.
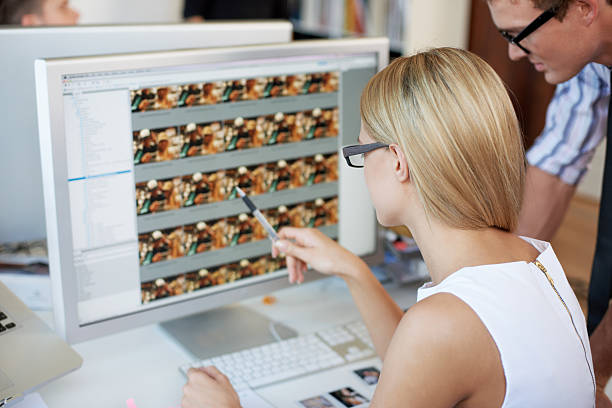
There's a good chance that some touch-up work will be required when processing chocolate photography. Post-processing and editing are important in the photography workflow because they enable you to refine and enhance your images to achieve the desired aesthetic and visual impact.
Any interaction with chocolate will likely cause surface damage that is difficult to see with the naked eye but becomes more visible in the final image. Using advanced photo editing software, you can make precise adjustments to elements such as exposure, color balance, and sharpness, resulting in stunning images.
Master Luxury Chocolate Photography With booth.ai
Many luxury chocolate photography ideas will enhance the appearance of your products. But some of them are extremely difficult or expensive to shoot.
But there's no need to worry right now because an AI can assist you in carrying out your luxury chocolate photography ideas with little to no effort or cost. So, delete the hassle and expense of conventional product photography and welcome a better, more effective alternative with booth.ai.
Booth.ai is a cutting-edge tool that uses artificial intelligence to quickly and easily generate high-quality product photos. Even without photography experience, you can use Booth.ai to create pro-looking images. It provides a practical and effective method for producing expert product images.
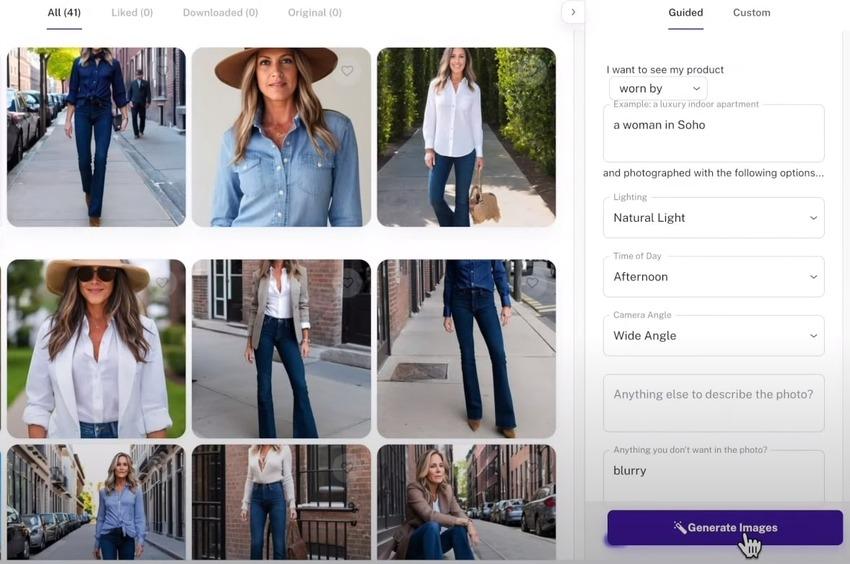
It has a user-friendly platform that enables anyone to become a photographer. In four simple steps, you can create unique, engaging luxury chocolate images:
Step 1. Launch the official Booth.ai website via a web browser or mobile device. Click “Get Started.”

Step 2. Upload product reference photos.

Step 3. Submit a text prompt describing your vision.

Step 4. Generate images and start receiving images in seconds.
Conclusion
Chocolate photography can be tough to shoot. Following the tips above, you should now have a good idea of how to photograph luxury chocolate without sacrificing your visual standards. With some planning, care, and help from booth.ai, you can take drool-worthy images for your portfolio.