Capturing the essence of desserts is an art that requires a perfect blend of creativity, technical expertise, and a sweet tooth. From decadent cakes to luscious pastries, dessert photography allows us to savor the delicious details that make these treats irresistible.
In this irresistible journey, we will explore the specialized techniques and secrets behind creating visually stunning dessert photographs that evoke a sense of taste and ignite the viewer's imagination. So, grab your camera, and let's delve into dessert photography!
In this article
-
- Prepare and use props and backdrops related to dessert or food photography.
- Ensure to capture the dessert's intricate details and textures.
- Keep the food styling simple and not overwhelming.
- Consider natural lighting, but feel free to add minimal artificial lighting if necessary.
- Adjust the camera's white balance and other settings with the help of a Grey Card.
9 Creative Dessert Photography Ideas
Numerous factors contribute to the perfect sweet food shot. It is critical to consider all aspects of the photograph, from color and lighting to styling and props. And coming up with such creative dessert photography ideas is a difficult task. Here are some of the best creative dessert photography ideas to get you started.
1. Add A Human Element In The Frame
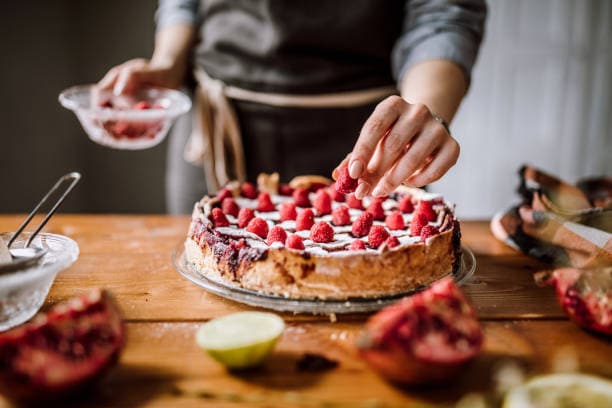
Including a human element in food, images help viewers connect with you and the food. They stop being mere observers and begin interacting with the scene, making them feel a part of it.
Invite models to add interest to your images. However, you should not concentrate on a specific person. In this context, a model is a secondary object that adds meaning to the scene. Photographing an entire person is unnecessary; you can capture only hands in action. Sprinkle sugar, pour honey or sauce, cut a cake, and so on.
2. Form A Diagonal Line In The Frame
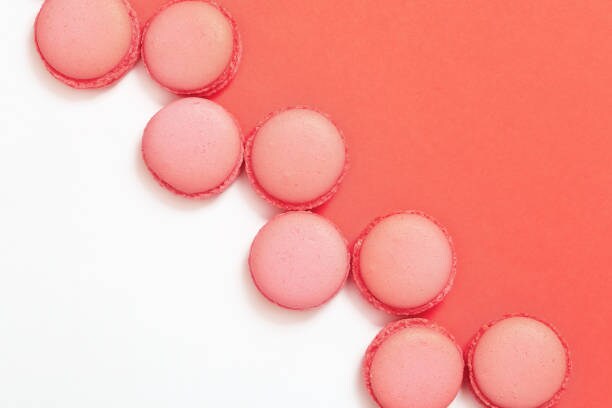
Diagonal lines help you avoid static and boring shots and instead suggest movement and flow. Placing your subjects at angles corresponding to the lines on the camera's screen results in a balanced but lively composition.
When people look at a photograph, they gaze from the lower left to the upper right corner. Focus on the closest object at the bottom so viewers can easily find the desired item. It's a subtle process that occurs without our awareness but increases our enjoyment of a photograph.
3. Take Advantage Of Liquid Splash Effect
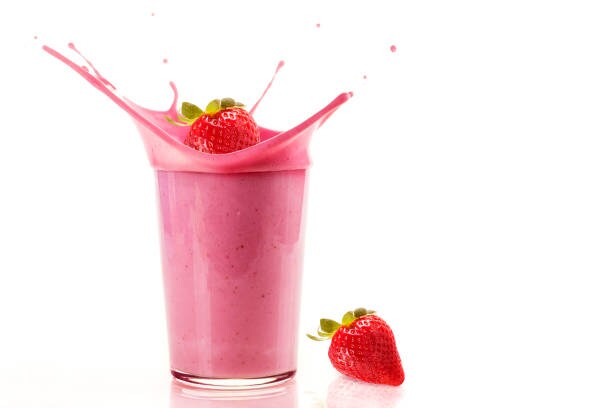
Desserts are not limited to solid foods; milkshakes and custards are examples of liquid desserts. Numerous methods exist for incorporating splashes into your layers to create more interesting and unique backgrounds. Experiment with liquid-based desserts using splashes to highlight their texture or color.
To catch liquid splashes, keep a towel nearby and be mindful of your equipment. To freeze the splash, set your camera to continuous shooting mode and capture multiple clips before dropping the item that will cause the splash.
4. Accentuate Saturation And Detail Sharpness
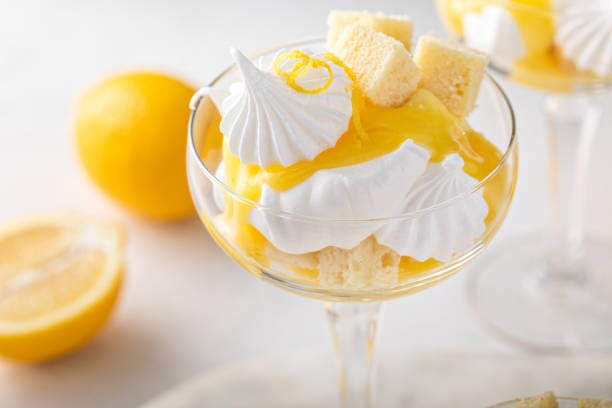
Exaggerating the use of color by experimenting with depth of field and increasing saturation is one of the most useful dessert photography tricks. It's easy to go overboard with saturation, and finding the right balance between pretty colors and unrealistic overkill is an art.
Increasing the saturation of average-looking photos is a simple way to make them appear more professional and "glossy." When adjusting the sharpness, zoom in on a smaller part of your image that contains an area of interest. You can do this in your preferred photo editing app. Camera flash can also improve color reproduction while minimizing glare.
5. Emphasize Texture
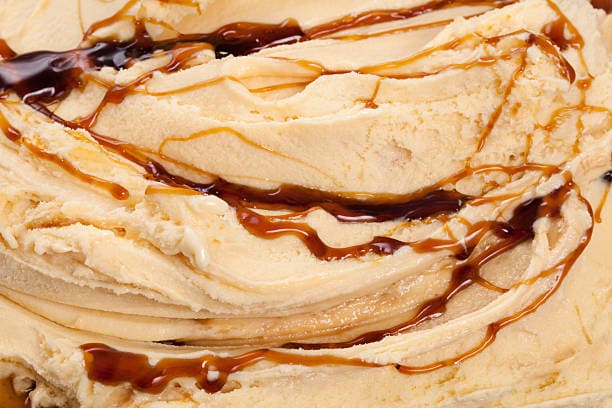
Textures and layers can be seen in dessert photography. Close-ups are a popular way to make desserts more appealing because they allow you to focus on interesting textures such as sprinkles, icing, or chocolate flakes. Simple details like these can elevate your dessert photography to the next level.
You can reduce the depth of field by increasing the aperture of your lens. Use a small f-stop and a wide-open aperture to emphasize texture. Set your focus on a tasty/gooey/juicy part of the food. Use a shutter speed of at least 1/125 to achieve a sharper image. Shoot down low, at the level of the food.
6. Employ Some Cooking Paraphernalias As Props
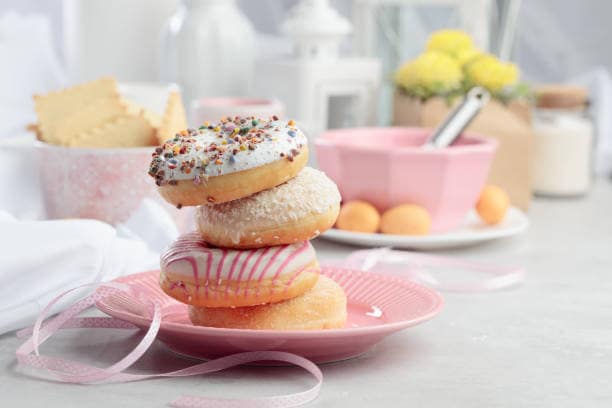
Including props in your shots can help to add context and interest to your photographs. Make your setup more believable using plates, utensils, napkins, and other cooking items. This will make your desserts look even more appetizing.
However, don't go overboard with the props, or they will distract from your main subject. The best way to accomplish this is to keep things simple and clean. Use neutral colors for props and backgrounds, and let the food be the show's star.
7. Take Advantage Of Sauce Drizzling Effect
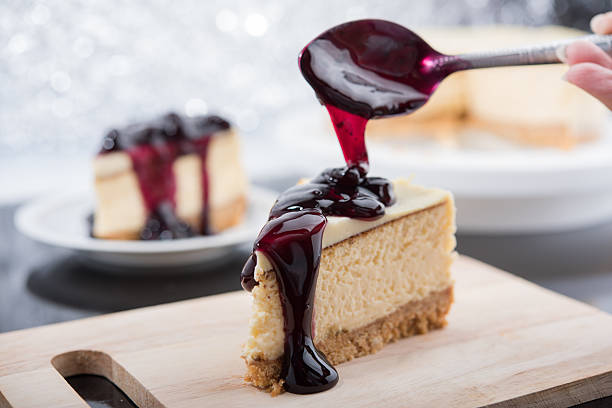
Along with the props, you must consider the details so that your dessert pictures of food elicit emotions and excite the senses. Don't pass up the chance to take a "tasty" photo of adding honey, liquid chocolate, or jam to the main course. Instead of pouring the sauce over the dessert, carefully drizzle it on top.
In addition, dessert sauces can get messy if not handled properly, so use extra caution. This adds color and authenticity while not appearing goopy or sloppy. This message entices people to try it. Furthermore, macro lenses can capture close-up shots that highlight the smallest details.
8. Shoot At 90 Degrees Angle
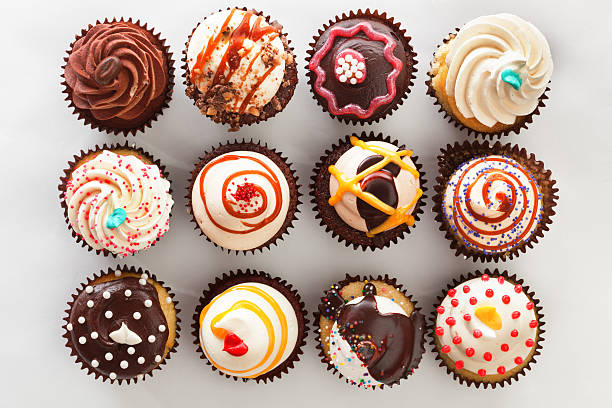
In dessert photography, you should always choose an angle that emphasizes your subject's best features. A 90-degree angle highlights the shape. It's also an excellent method for getting multiple objects into the frame.
You can emphasize the shape by shooting at a 90-degree angle. It's also useful if you want to fit several objects into the frame. Shoot down on the food while holding your camera directly above it.
9. Dark Food Method
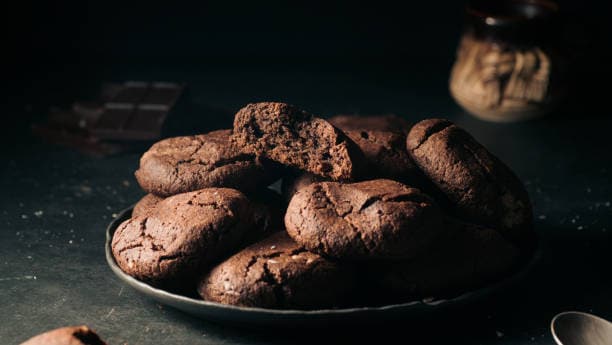
To draw viewers to a dessert photograph, focus on the main object while making the background less expressive. A dark background with a chocolate cake. Place a cake on a plate and create a bite effect to make a dark food photo look more natural.
In dark food photography, your main goal is reducing the amount of fill light you reflect around the subject. The number of white walls surrounding the scene must be reduced, or obtain dark sheets to absorb light.
5 Tips to Get the Hang of Dessert Photography
Dessert photography provides a creative and entertaining way to highlight the beauty of sweet treats. Indulge your senses and elevate your photography skills with these five delectable tips to master the art of dessert photography.
1. Prepare and use props and backdrops related to dessert or food photography.
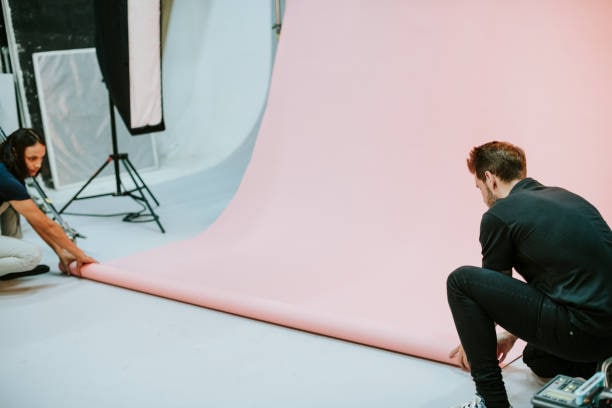
Decide how you want to present your dessert to ensure that the shoot day goes as smoothly as possible. Then decide which props and backdrops will best suit the story you want to tell. It is critical to design an accurate set around the food.
Begin by examining the subject's texture, brightness, consistency, etc. If you photograph a birthday cake, some candles or sparklers might be a nice addition. If your dessert is pretty and pastel, you'll need props and backgrounds in similar colors. This would result in a more cohesive appearance.
2. Ensure to capture the dessert's intricate details and textures.
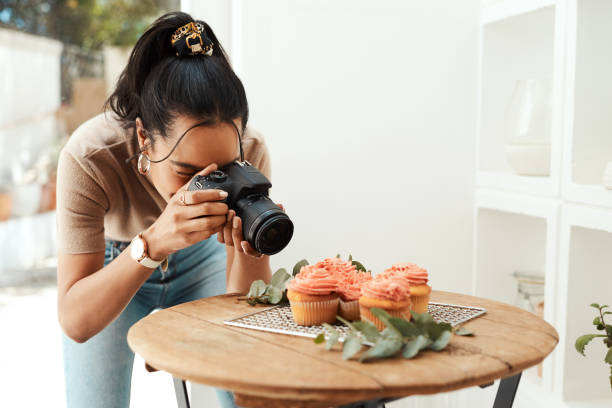
Desserts are all about the small details, so pay attention to them in your photography. These are going to bring out the best in your subject. These minor details will contribute to creating a story we can all relate to.
To give your images a close-up look, zoom in on the texture of the frosting, sprinkles, or crust. If you have a macro lens, this is the time to use it. While you want the main focus on your food, don't overlook these details.
3. Keep the food styling simple and not overwhelming.
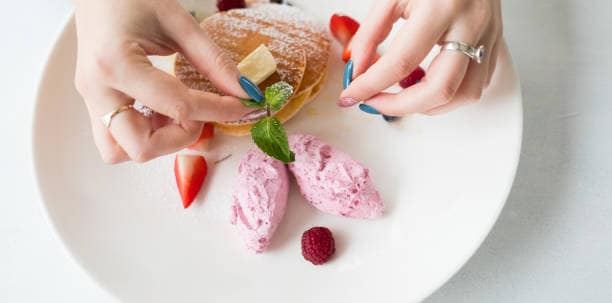
Dessert styling is a form of art in itself. It entails preparing dessert to look its best for the camera and creating visually appealing and technically accurate visual elements. The key here is to take your time appealingly arranging the desserts.
Experiment with different backgrounds, lighting, and perspectives until you find your style. Experiment with different plating techniques, garnishes, props, and lighting to make food photographs look tasty and inviting. However, it is critical to keep it simple and not overwhelming.
4. Consider natural lighting, but feel free to add minimal artificial lighting if necessary.
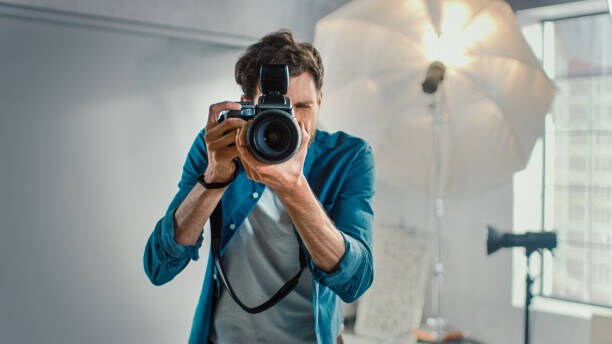
It's no secret that light is the most important element in all photography. And nothing beats the soft, warm look of a naturally lit photography. Look for large windows with something to diffuse and soften the light. You should also have white mini v-flats or foam boards to bounce light onto the desserts.
However, if you prefer artificial light, try to make it look as natural as possible. You'll need the right equipment and an understanding of lighting setups to achieve this effect.
5. Adjust the camera's white balance and other settings with the help of a Grey Card.
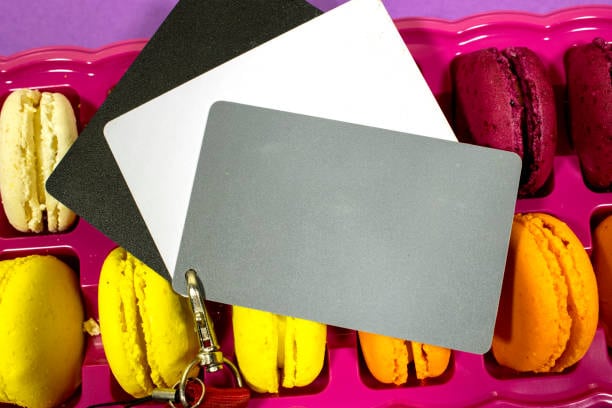
Desserts look best when they are as natural as possible, with as many colors as possible. Dessert photos can have lifelike colors if whites and soft colors are used correctly. Try photographing a Grey Card, a gray piece of plastic or paper that can be purchased at a camera store.
While learning to use a white balance card, you should set the WB in your camera to custom. Use a Grey Card to train your camera to set the perfect white balance for everything you photograph. Then, in your favorite post-processing program, adjust the white balance of your images.
Be a Dessert Photography Expert With Booth.ai
There's no denying that dessert photography offers a myriad of wonderful and captivating ideas. From vibrant fruit tarts to decadent chocolate cakes, the world of dessert is a paradise for photographers seeking to capture enticing images. However, some of these dessert photography ideas can be complicated or expensive to execute, discouraging many enthusiasts.
But fret not! In this modern age of technology, there's a solution that can ease the burden and make dessert photography accessible to all. Thanks to Booth.ai. With this powerful AI assistant, you can effortlessly bring your dessert photography ideas to life with little effort or financial strain.
Booth.ai streamlines the process by providing smart suggestions, enhancing lighting and composition, and recommending the perfect angle for your shots. Whether you're a professional photographer or a passionate dessert enthusiast with a smartphone, Booth.ai can cater to your needs, making capturing mouthwatering dessert photographs a breeze. Here’s how to use Booth.ai:
Step 1. Visit the Booth.ai website or open the Booth.ai app on your device. You may need to sign up for an account or log in if you already have one.

Step 2. Upload the photo you want to enhance. You can upload it from your computer or your smartphone gallery.

Step 3. Choose the image workflow. Write a text prompt describing your vision.
Booth.ai will analyze your photo and provide you with smart suggestions.

Step 4. Once you're satisfied with the enhancements, save the edited photo to your device.

Conclusion
Dessert photography can appear simple. However, you must be prepared and have a variety of photography tricks at your disposal to get high-quality dessert shots. So, leap into this exciting world of dessert photography, armed with the assistance of Booth.ai, and let your imagination and talent shine through!
