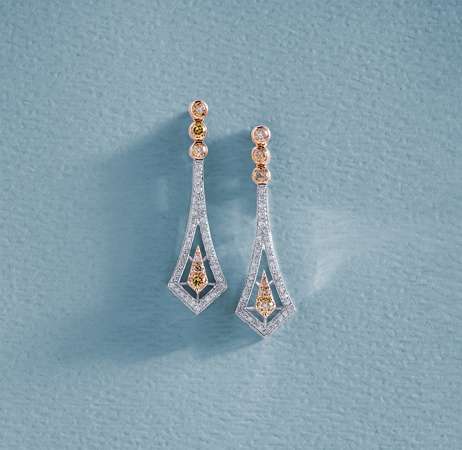
Regardless of how experienced you are with product photography, when you first get into shooting jewelry, you’ll likely find yourself out of your depth. Especially when it comes to earrings photography, making every minute detail perfectly visible and every photo absolutely captivating can take a lot of hard work.
The good news is that all it takes is a bit of trial and error to hone your skills and deliver precisely the types of results you’re after.
Take a look at a few tips and tricks that will help you find the best way to photograph earrings like a pro.
In this article
5 Steps You Should Follow for Earrings Photoshoot
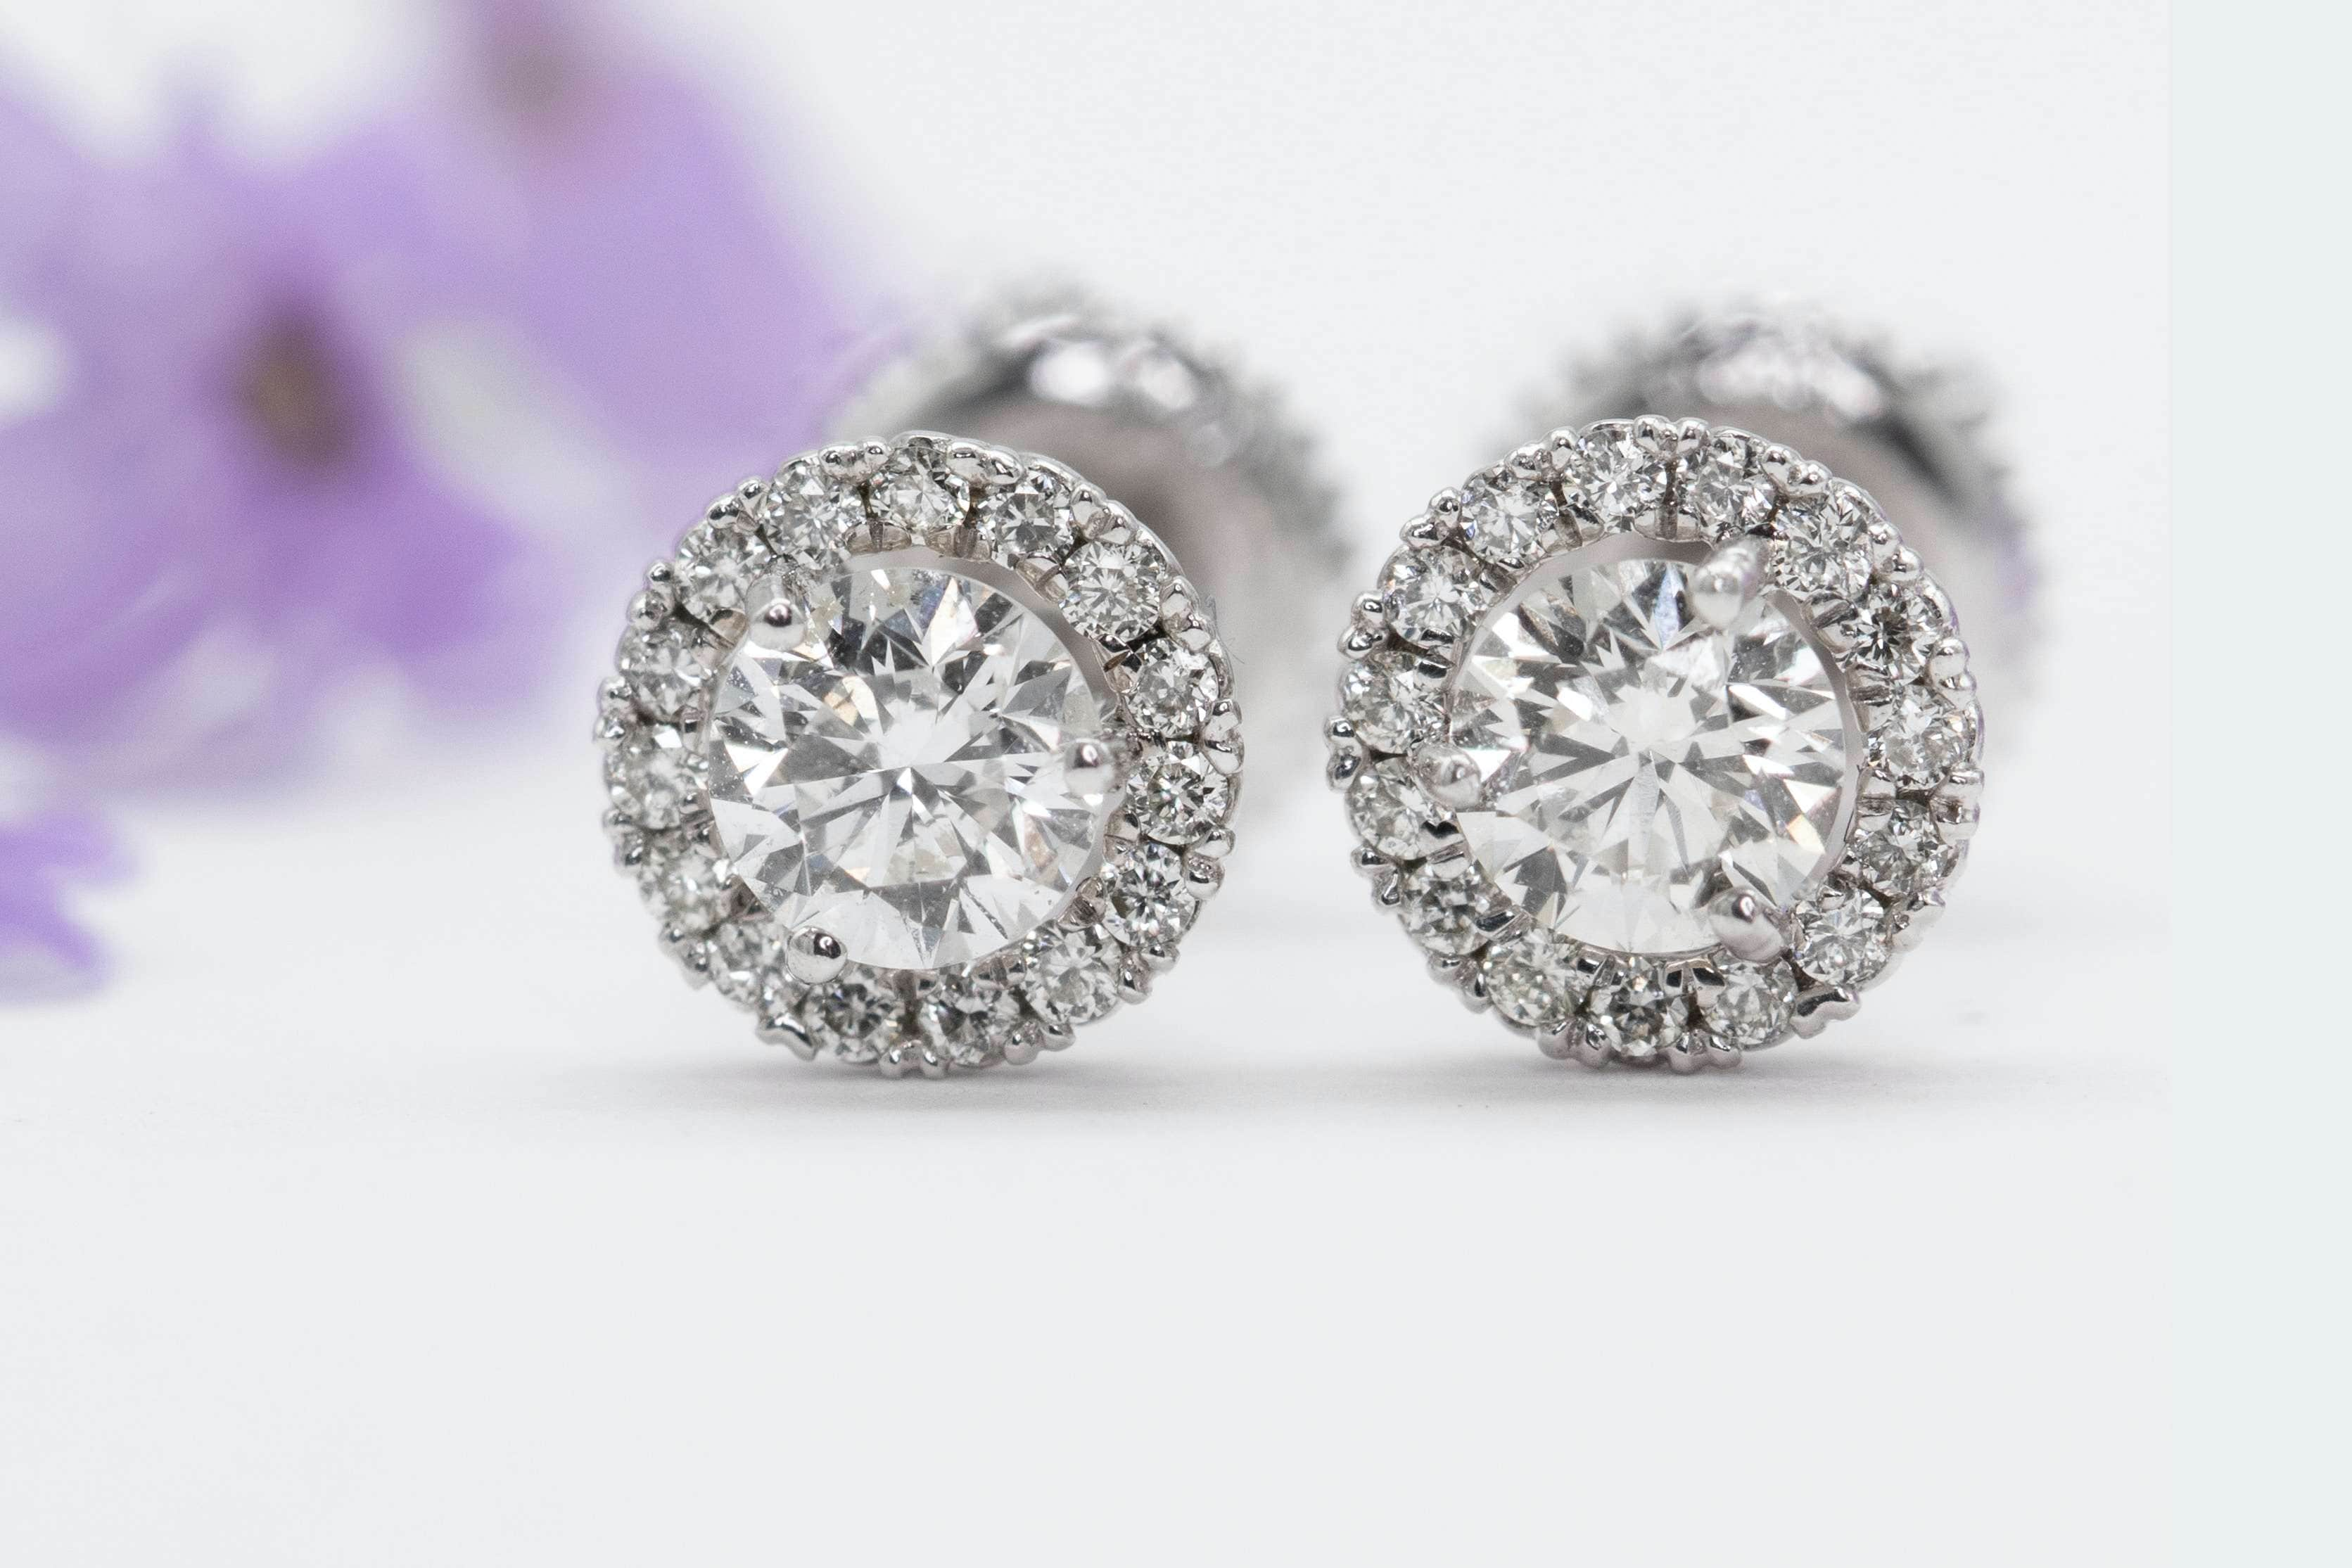
When you’re doing earring product photography, there are five steps you’ll always need to follow – plan out the earrings photoshoot, prepare the product, set up the environment, take your shot, and enhance the photos. When you break it down, it’s not at all as complicated as you might have thought.
Step 1. Planning for an Earrings Photoshoot
The planning stage is arguably the most important one. After all, the better you prepare for the earrings photoshoot, the easier the entire process will go.
Understand the purpose and desired outcome of the photoshoot
When you start your first photoshoot with earrings, you’ll quickly find that not every photoshoot has the exact same purpose. Therefore, not every photoshoot requires the same approach.
With jewelry, you’ll usually find two common approaches – you’ll either have to do product photography or editorial photography.
In general, earrings product photography doesn’t require any unique props or extensive staging. Product photos on ecommerce websites need to be clean and detailed, allowing potential buyers to examine the product from every angle before ordering. Therefore, you’ll simply need a nice clean background and the product.
Editorial photography is where you’ll have the chance to let your creative juices flow. Editorial photos are used in marketing materials, so they’ll need to be eye-catching, vibrant, and unique.
Research popular earring styles and current trends
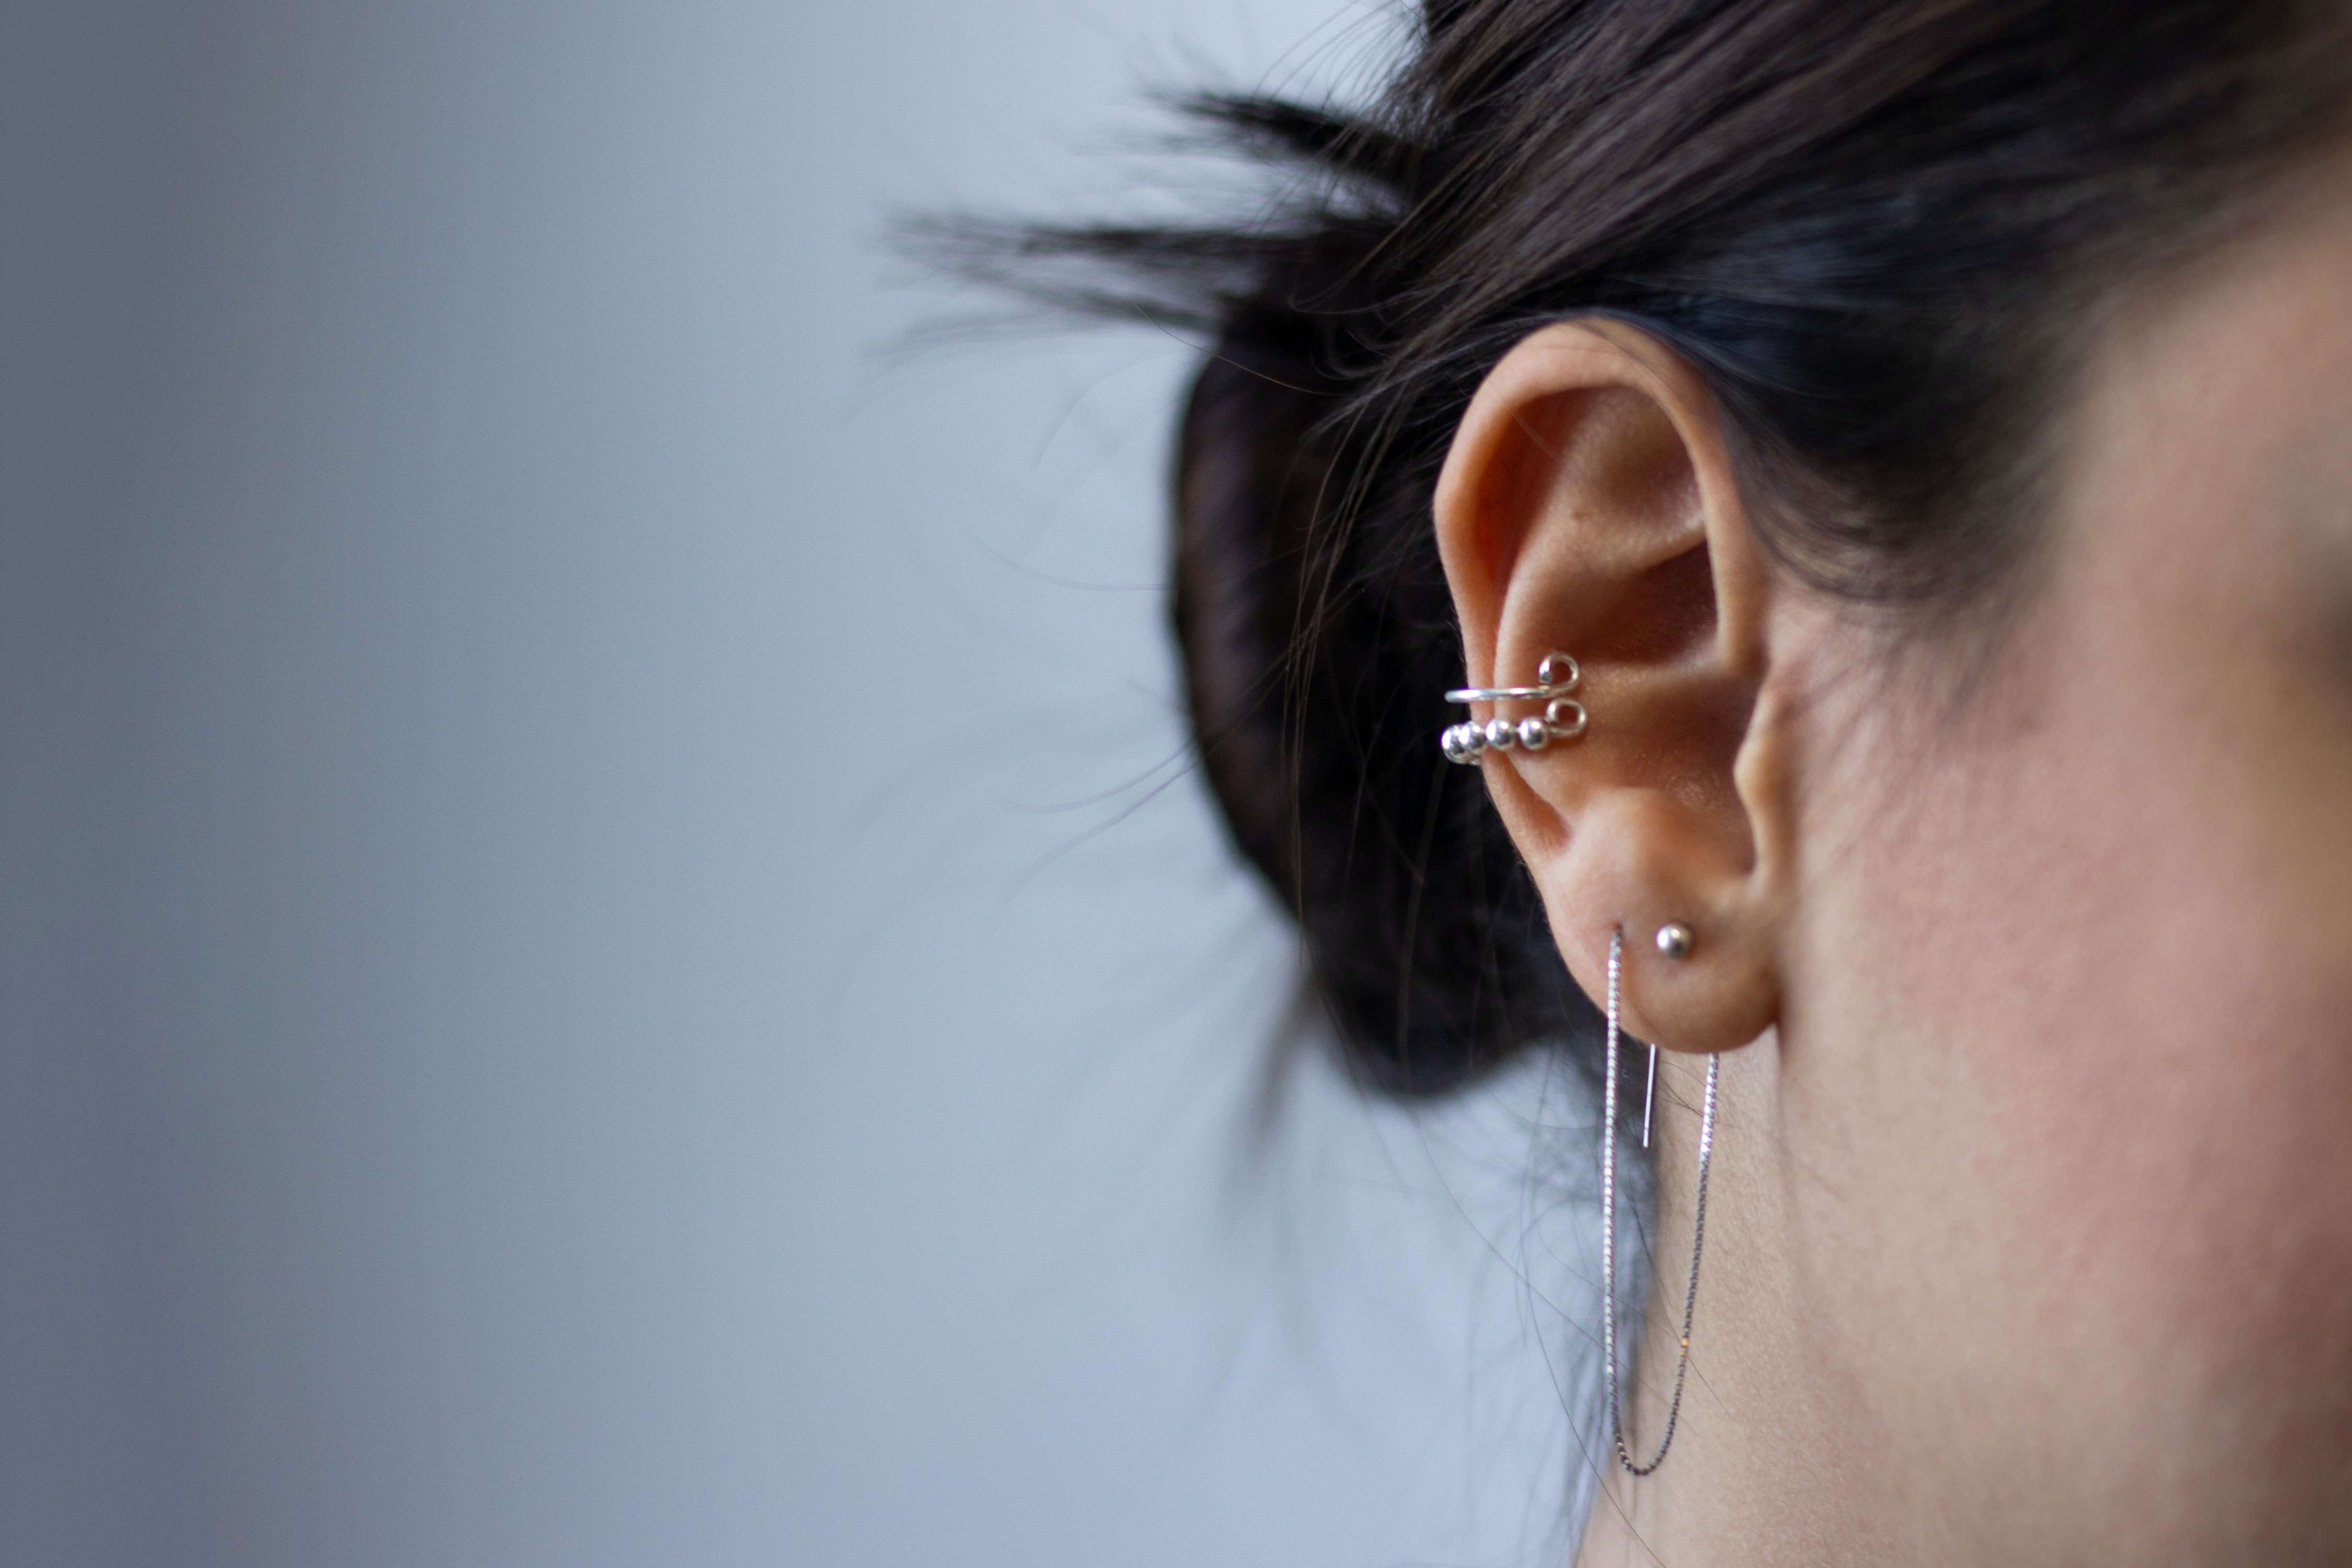
While you could always try to be a trendsetter and develop new, unique ways to showcase your earrings and introduce different jewelry styles, you don’t have to jump right into it from the get-go. If you’re just starting out in this niche, it’s in your best interest to do some research and learn more about the current trends in photography and popular earring styles.
Look up your direct competitors, see what they’re doing and how they’re doing it, and use the information you gather to your advantage. Though you don’t want to copy exactly what your competitors are doing, you can use it as inspiration and add your personal touches.
Create a mood board and conceptualize the overall theme
It’s always a good idea to have a specific theme in mind when you’re trying to photoshoot earrings. A theme helps you create a sense of uniformity and allows you to include branded elements easily.
That’s why you should always create detailed mood boards before your shoots. Conceptualize the overall theme, ensuring that it makes sense for the earring style you’re using, and try to build a story with each photo.
Step 2. Preparing the Earrings and Accessories
After planning out your earring photoshoots, it’s time to prepare your subject and all the accessories and props you’ll be using to make it stand out.
Clean and polish the earrings for a pristine appearance
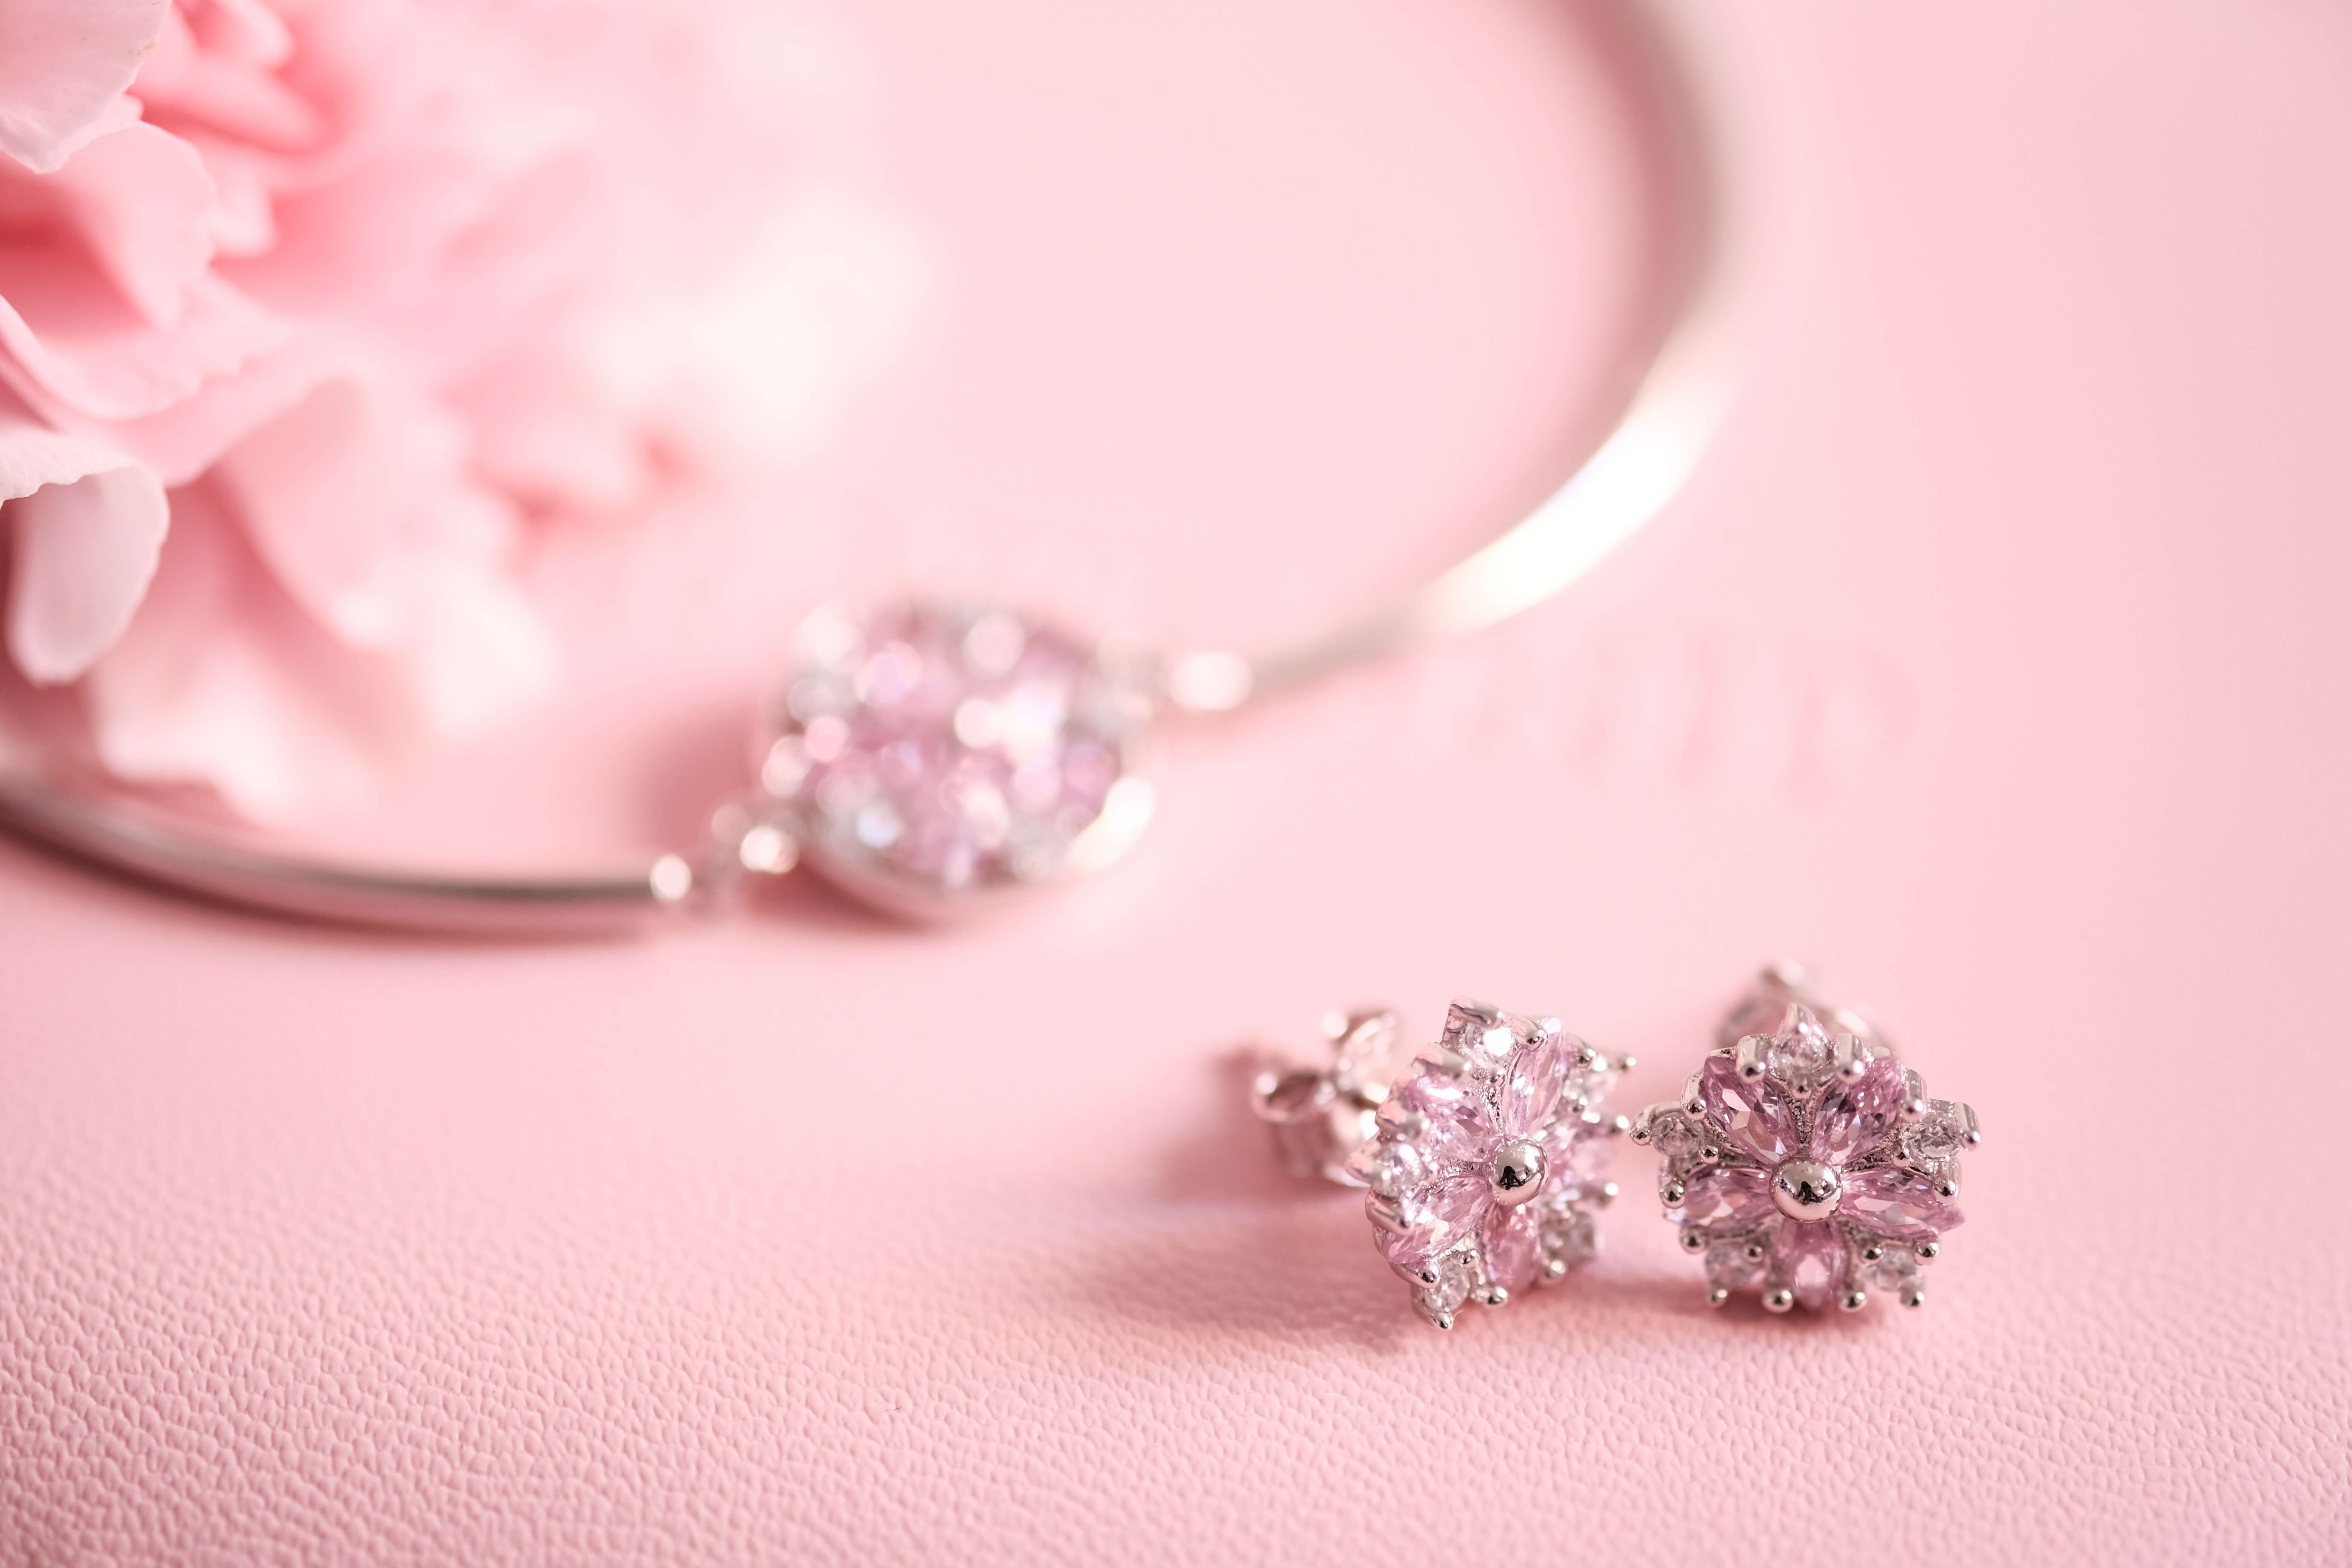
There’s nothing worse than close-up photography of dirty and scratched jewelry. Even if you have the best editing software to remove imperfections, your earring photos will still look odd and unattractive.
Therefore, before every shoot, you need to ensure that the earrings (and any other accessories that will be present in the photo) are perfectly polished and in pristine condition.
Select suitable earring holders or models for display
Earrings are notoriously difficult to stage for photoshoots. Many have dangling parts that won’t lay flat. Many more have irregular shapes that make it challenging to get the right angle. So, you’ll need to find suitable earring holders for the type of jewelry you’re working with.
For example, you can always use a transparent or white earring holder for studs. However, large, dangling earrings could look odd on a traditional holder, so you might have to get creative with a transparent fishing line, for instance, that you can easily remove in post-processing.
Gather complementary accessories to enhance the photoshoot
As mentioned, you don’t need many props or accessories in product photography. However, in editorial photography, you do.
For creative earrings photography, you’ll need to find complementary accessories that help you tell a story and set the mood.
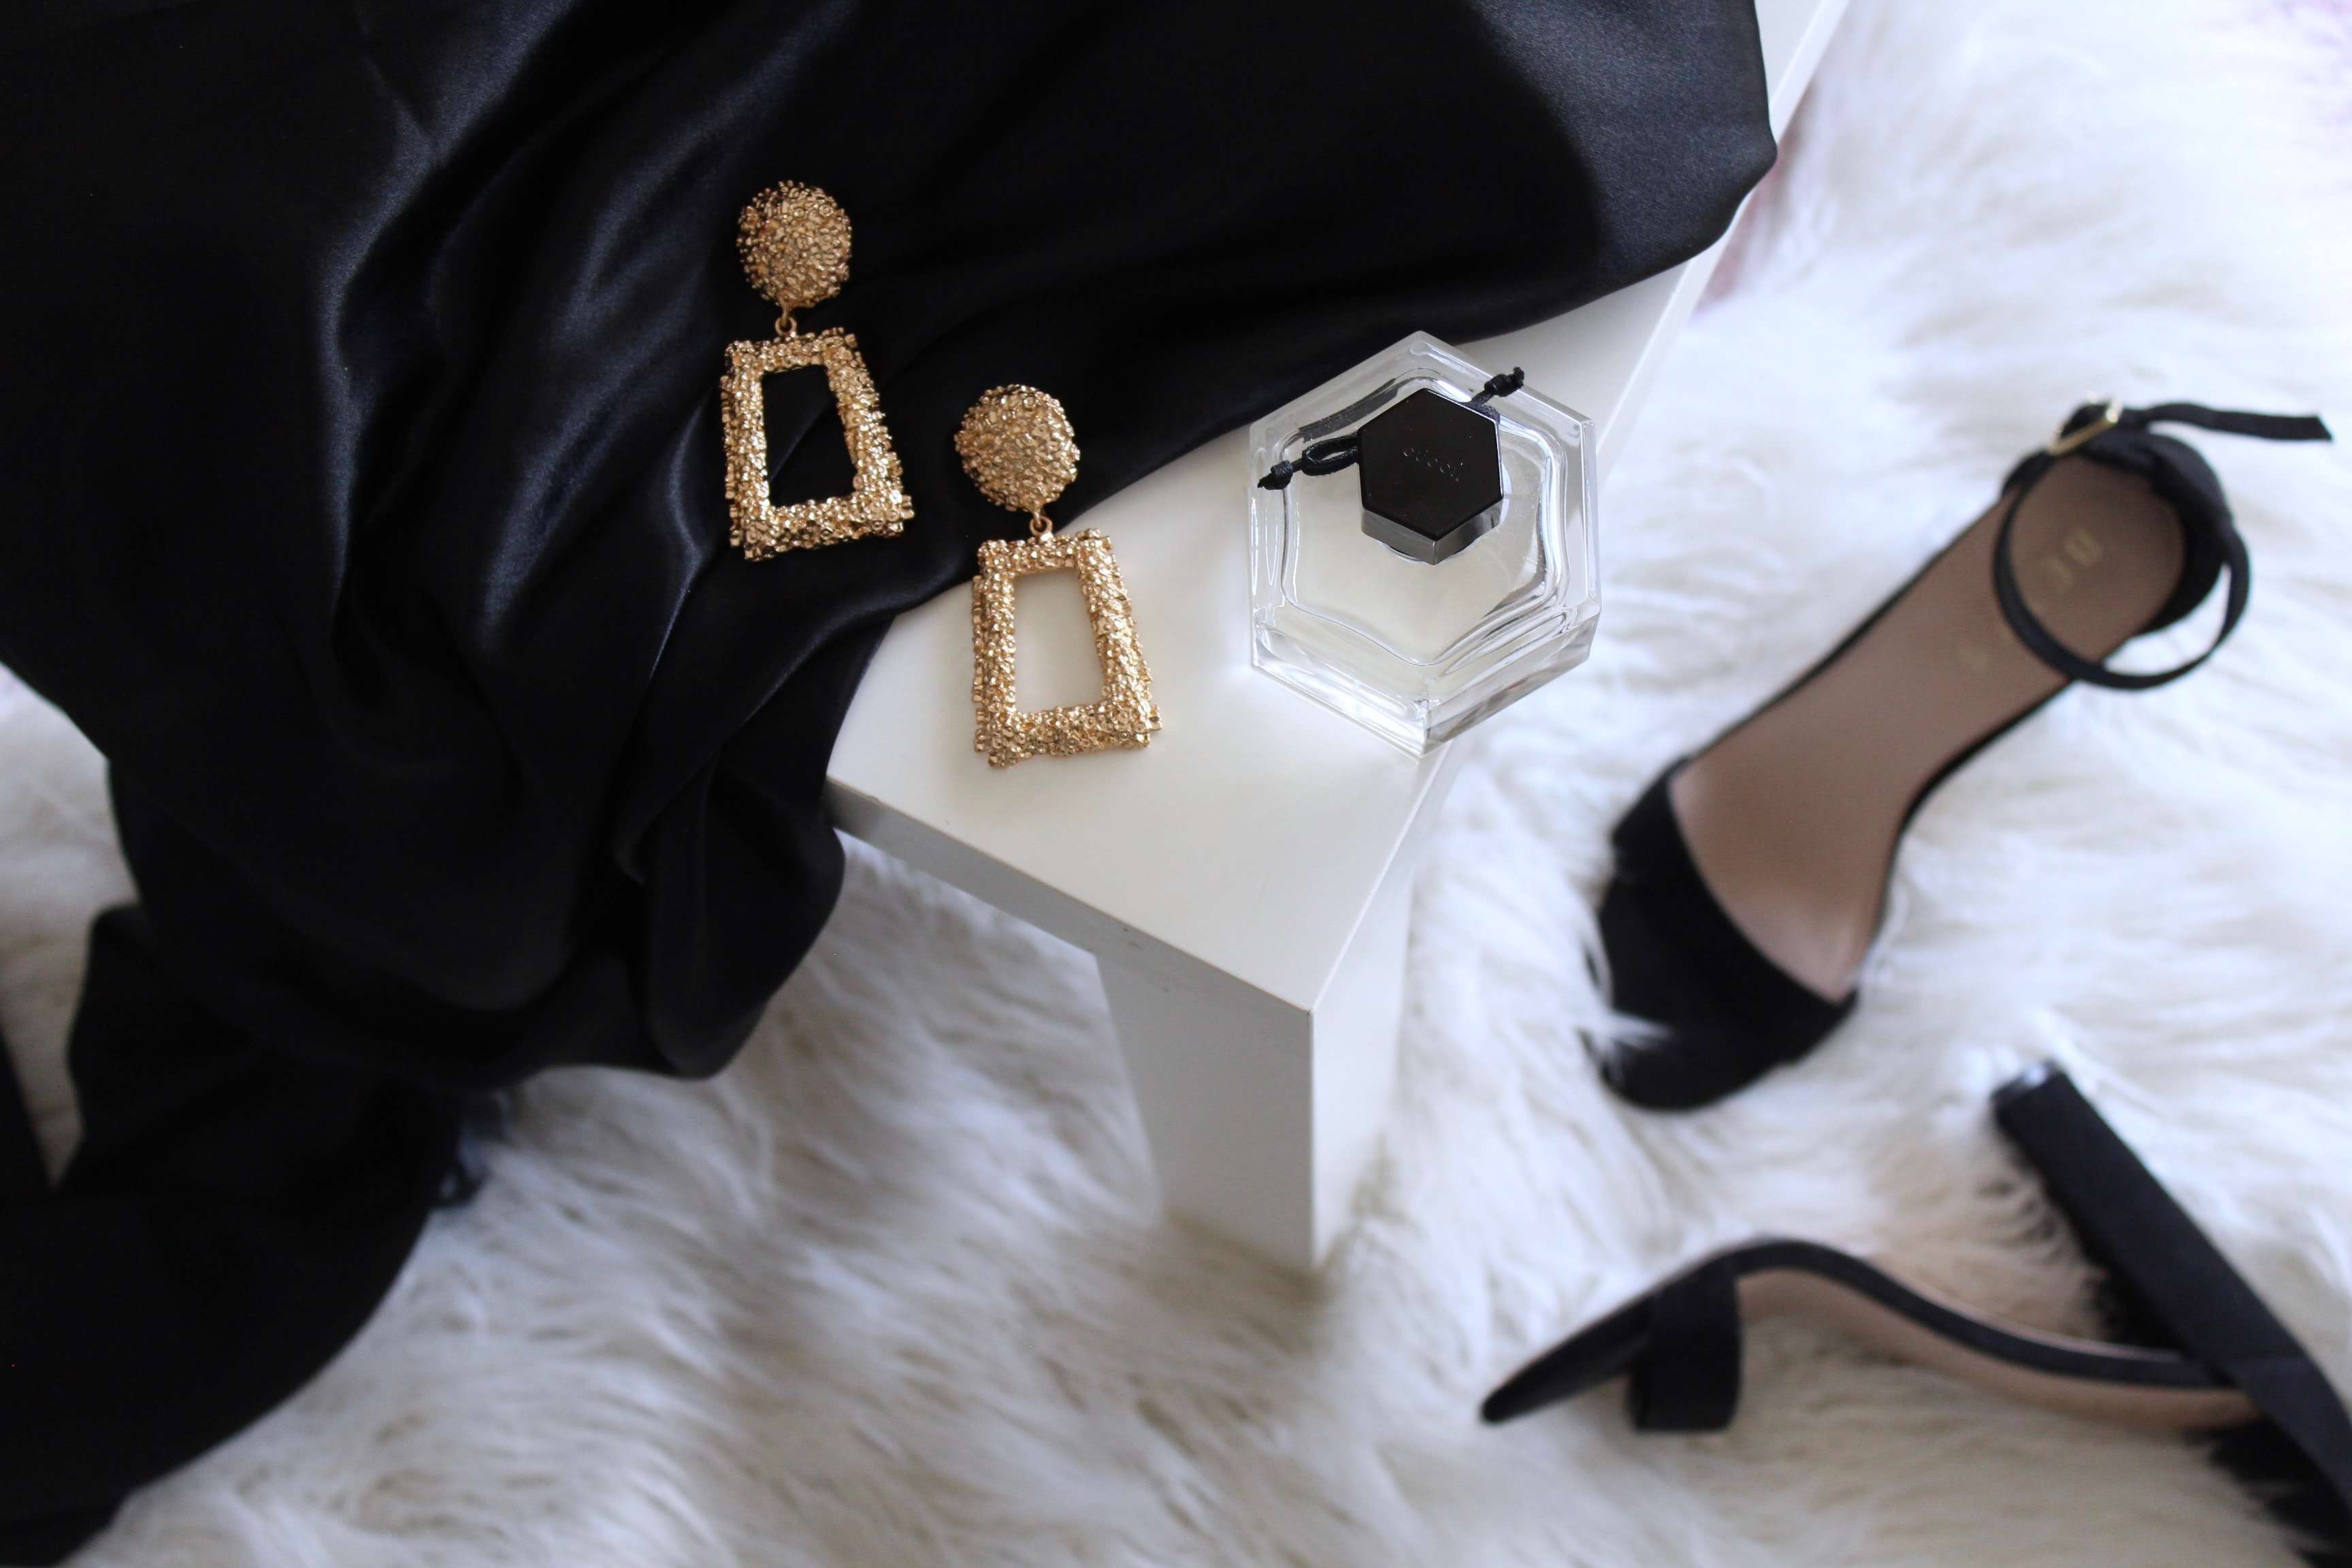
If you’re working with expensive, classic earrings, for example, you could use props such as luxury perfume bottles, silk or cashmere scarves, or even other pieces of jewelry from the same set – necklaces, bracelets, rings, and more. Just make sure that the earrings are at the forefront.
If you’re working with unique, whimsical earrings, you could use props like sand and beach towels, funny sculptures, or abstract paintings.
Whatever you do, make sure that the props and accessories help bring the focus to the earrings and don’t distract from them.
Step 3. Setting Up the Photography Environment
With the plan in mind and earrings and accessories prepared, you should focus on the environment. Set the stage to bring your earrings into focus.
Choose an appropriate backdrop or setting that complements the earrings
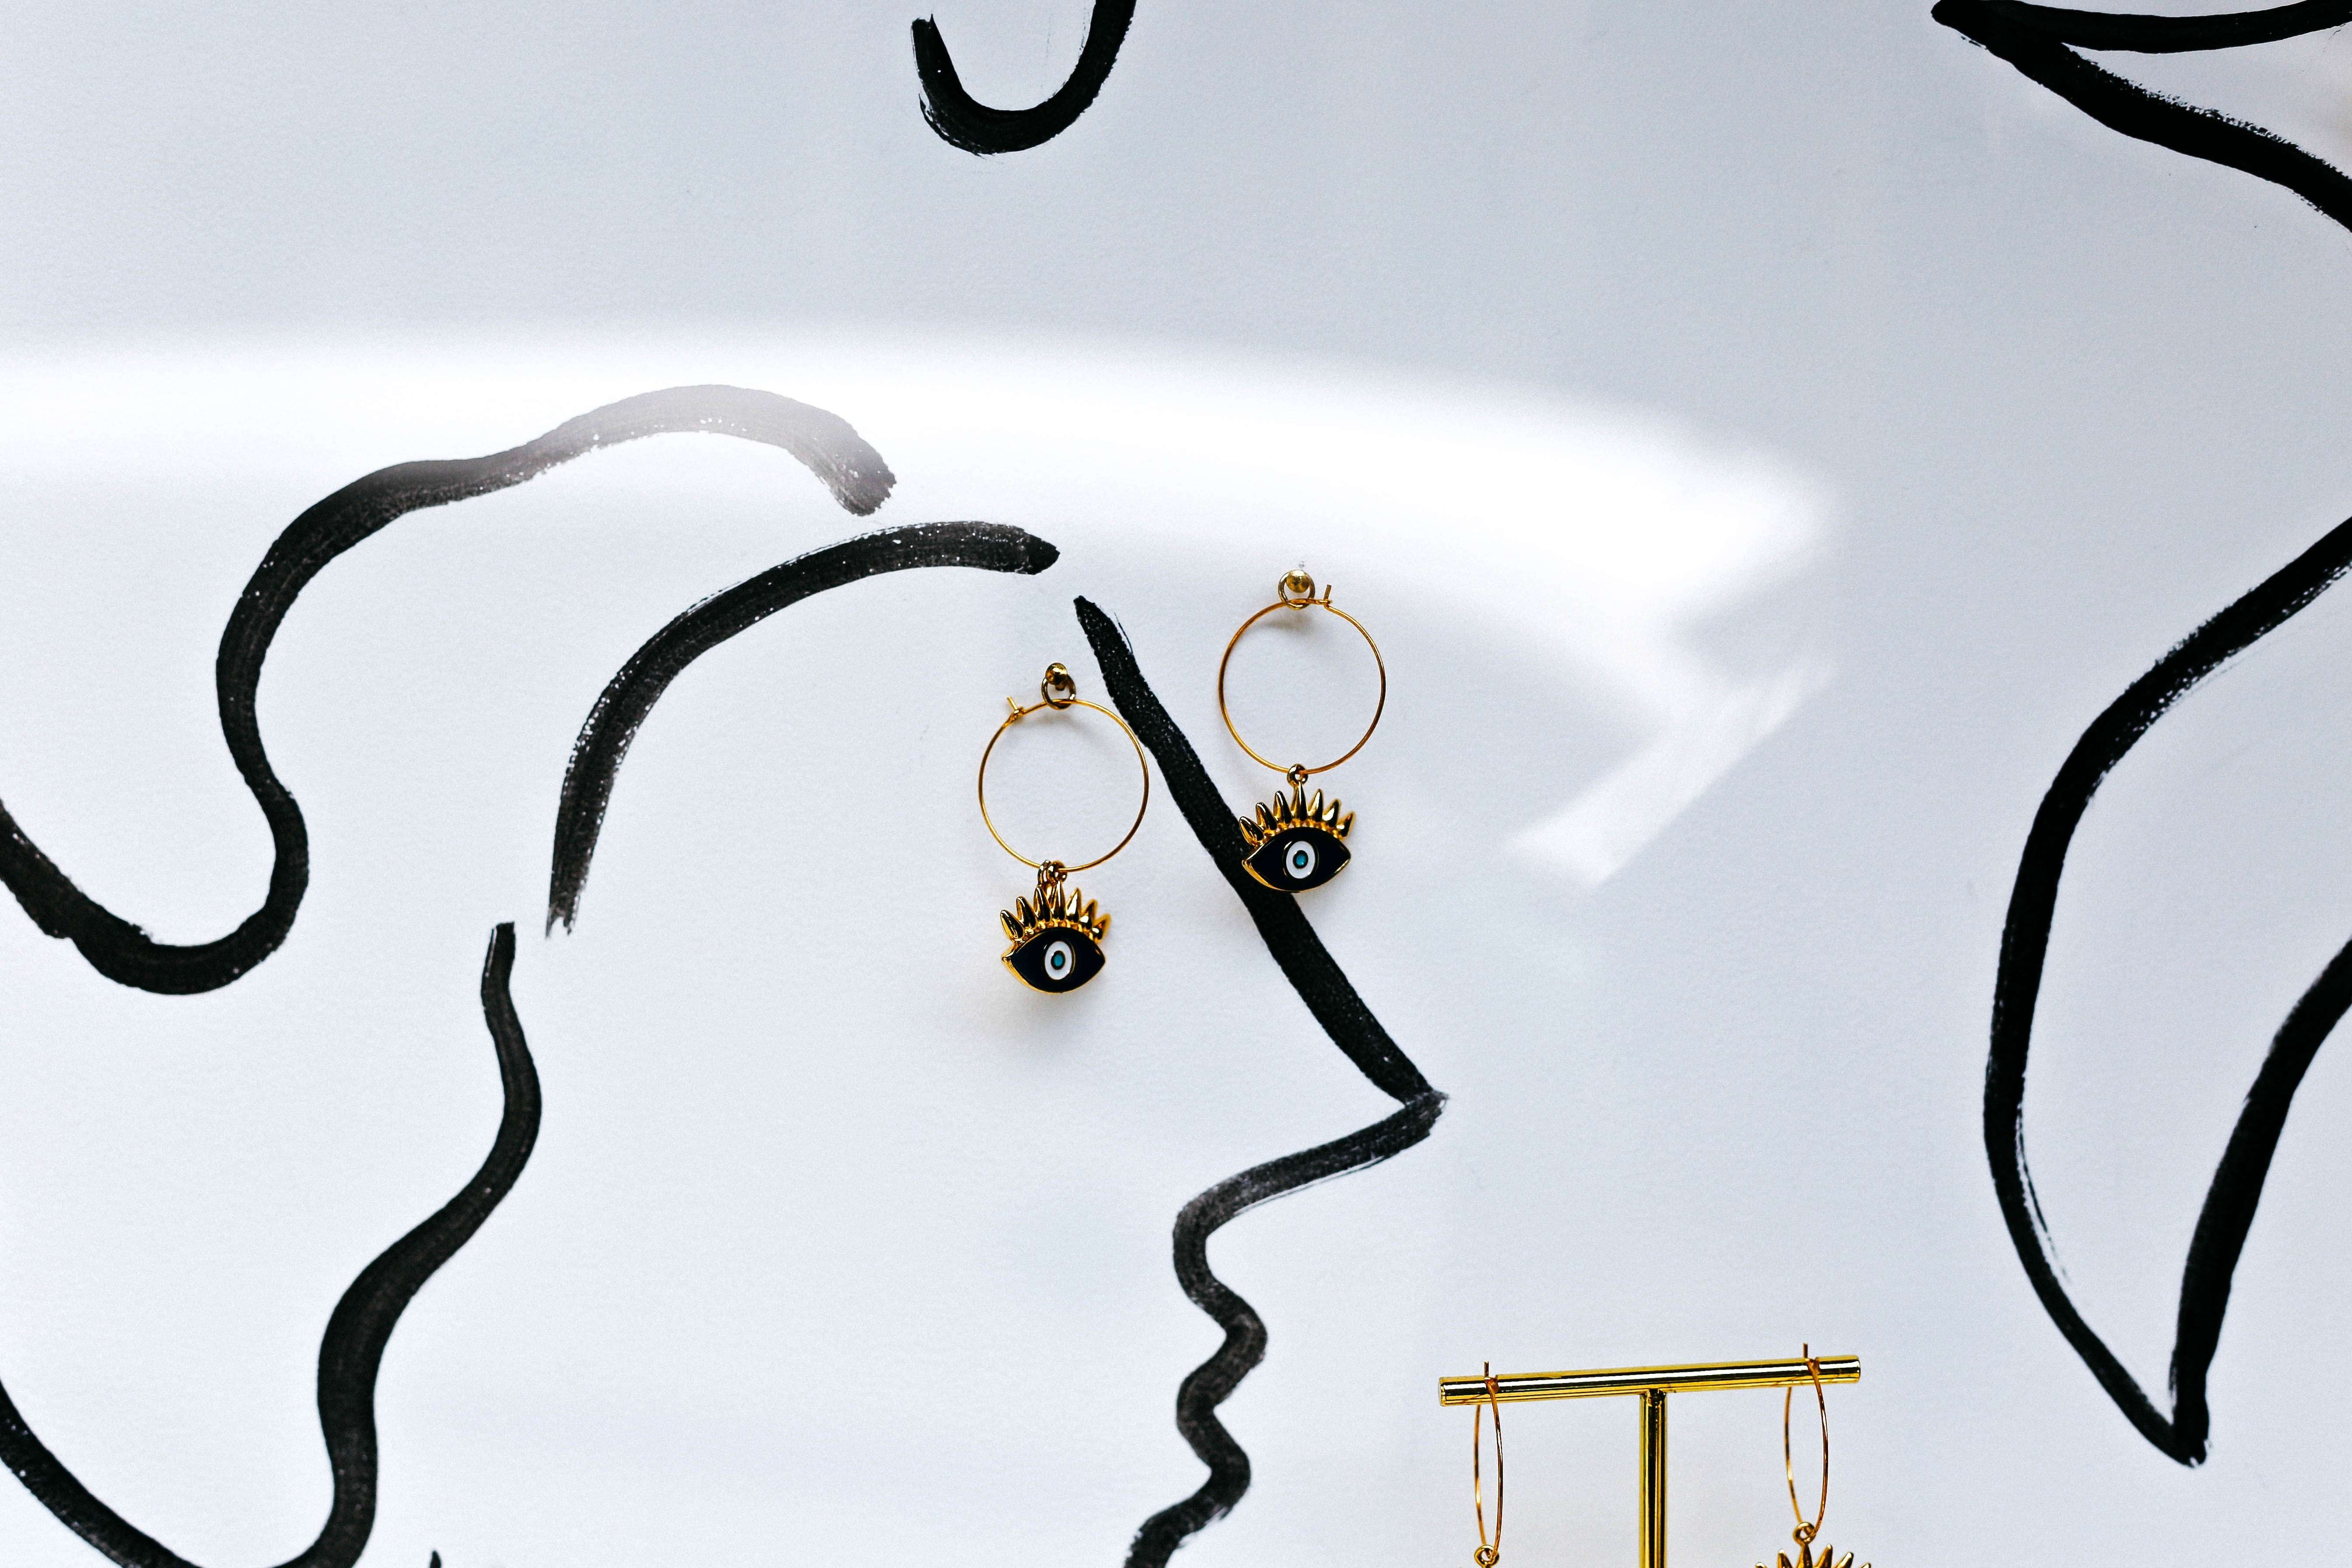
Like with the accessories, you’ll need to ensure that the backdrop complements the earrings you’re shooting. You’ll want to use the backdrop to enhance some of the earrings’ features, not take the viewers’ attention away from the jewelry altogether.
Use complementary colors and make sure that there’s nothing that might obscure the earrings. For instance, if you’re shooting white gold jewelry, you don’t want a background that’s the same shade as the metal – it will make it difficult for the viewers to discern any details. Instead, create some contrast and introduce patterns or shapes that add more interest to your photos.
Ensure proper lighting conditions to highlight the earrings’ details
Light and jewelry don’t always mix well together. You could encounter various issues depending on the type of earrings you’re working with.
If you’re shooting cluster earrings or chandelier earrings, you could have too many light refractions that will impact the quality of your photos. If you’re working with thick, solid metal huggie earrings, you could have strange reflections that obscure the image.
As a general rule of thumb, most earring photos will look the best when using a softbox. Still, it’s in your best interest to experiment with different light sources and angles until you’ve found the perfect solution for the specific earrings you’re working with.
Arrange props and accessories to create an appealing composition
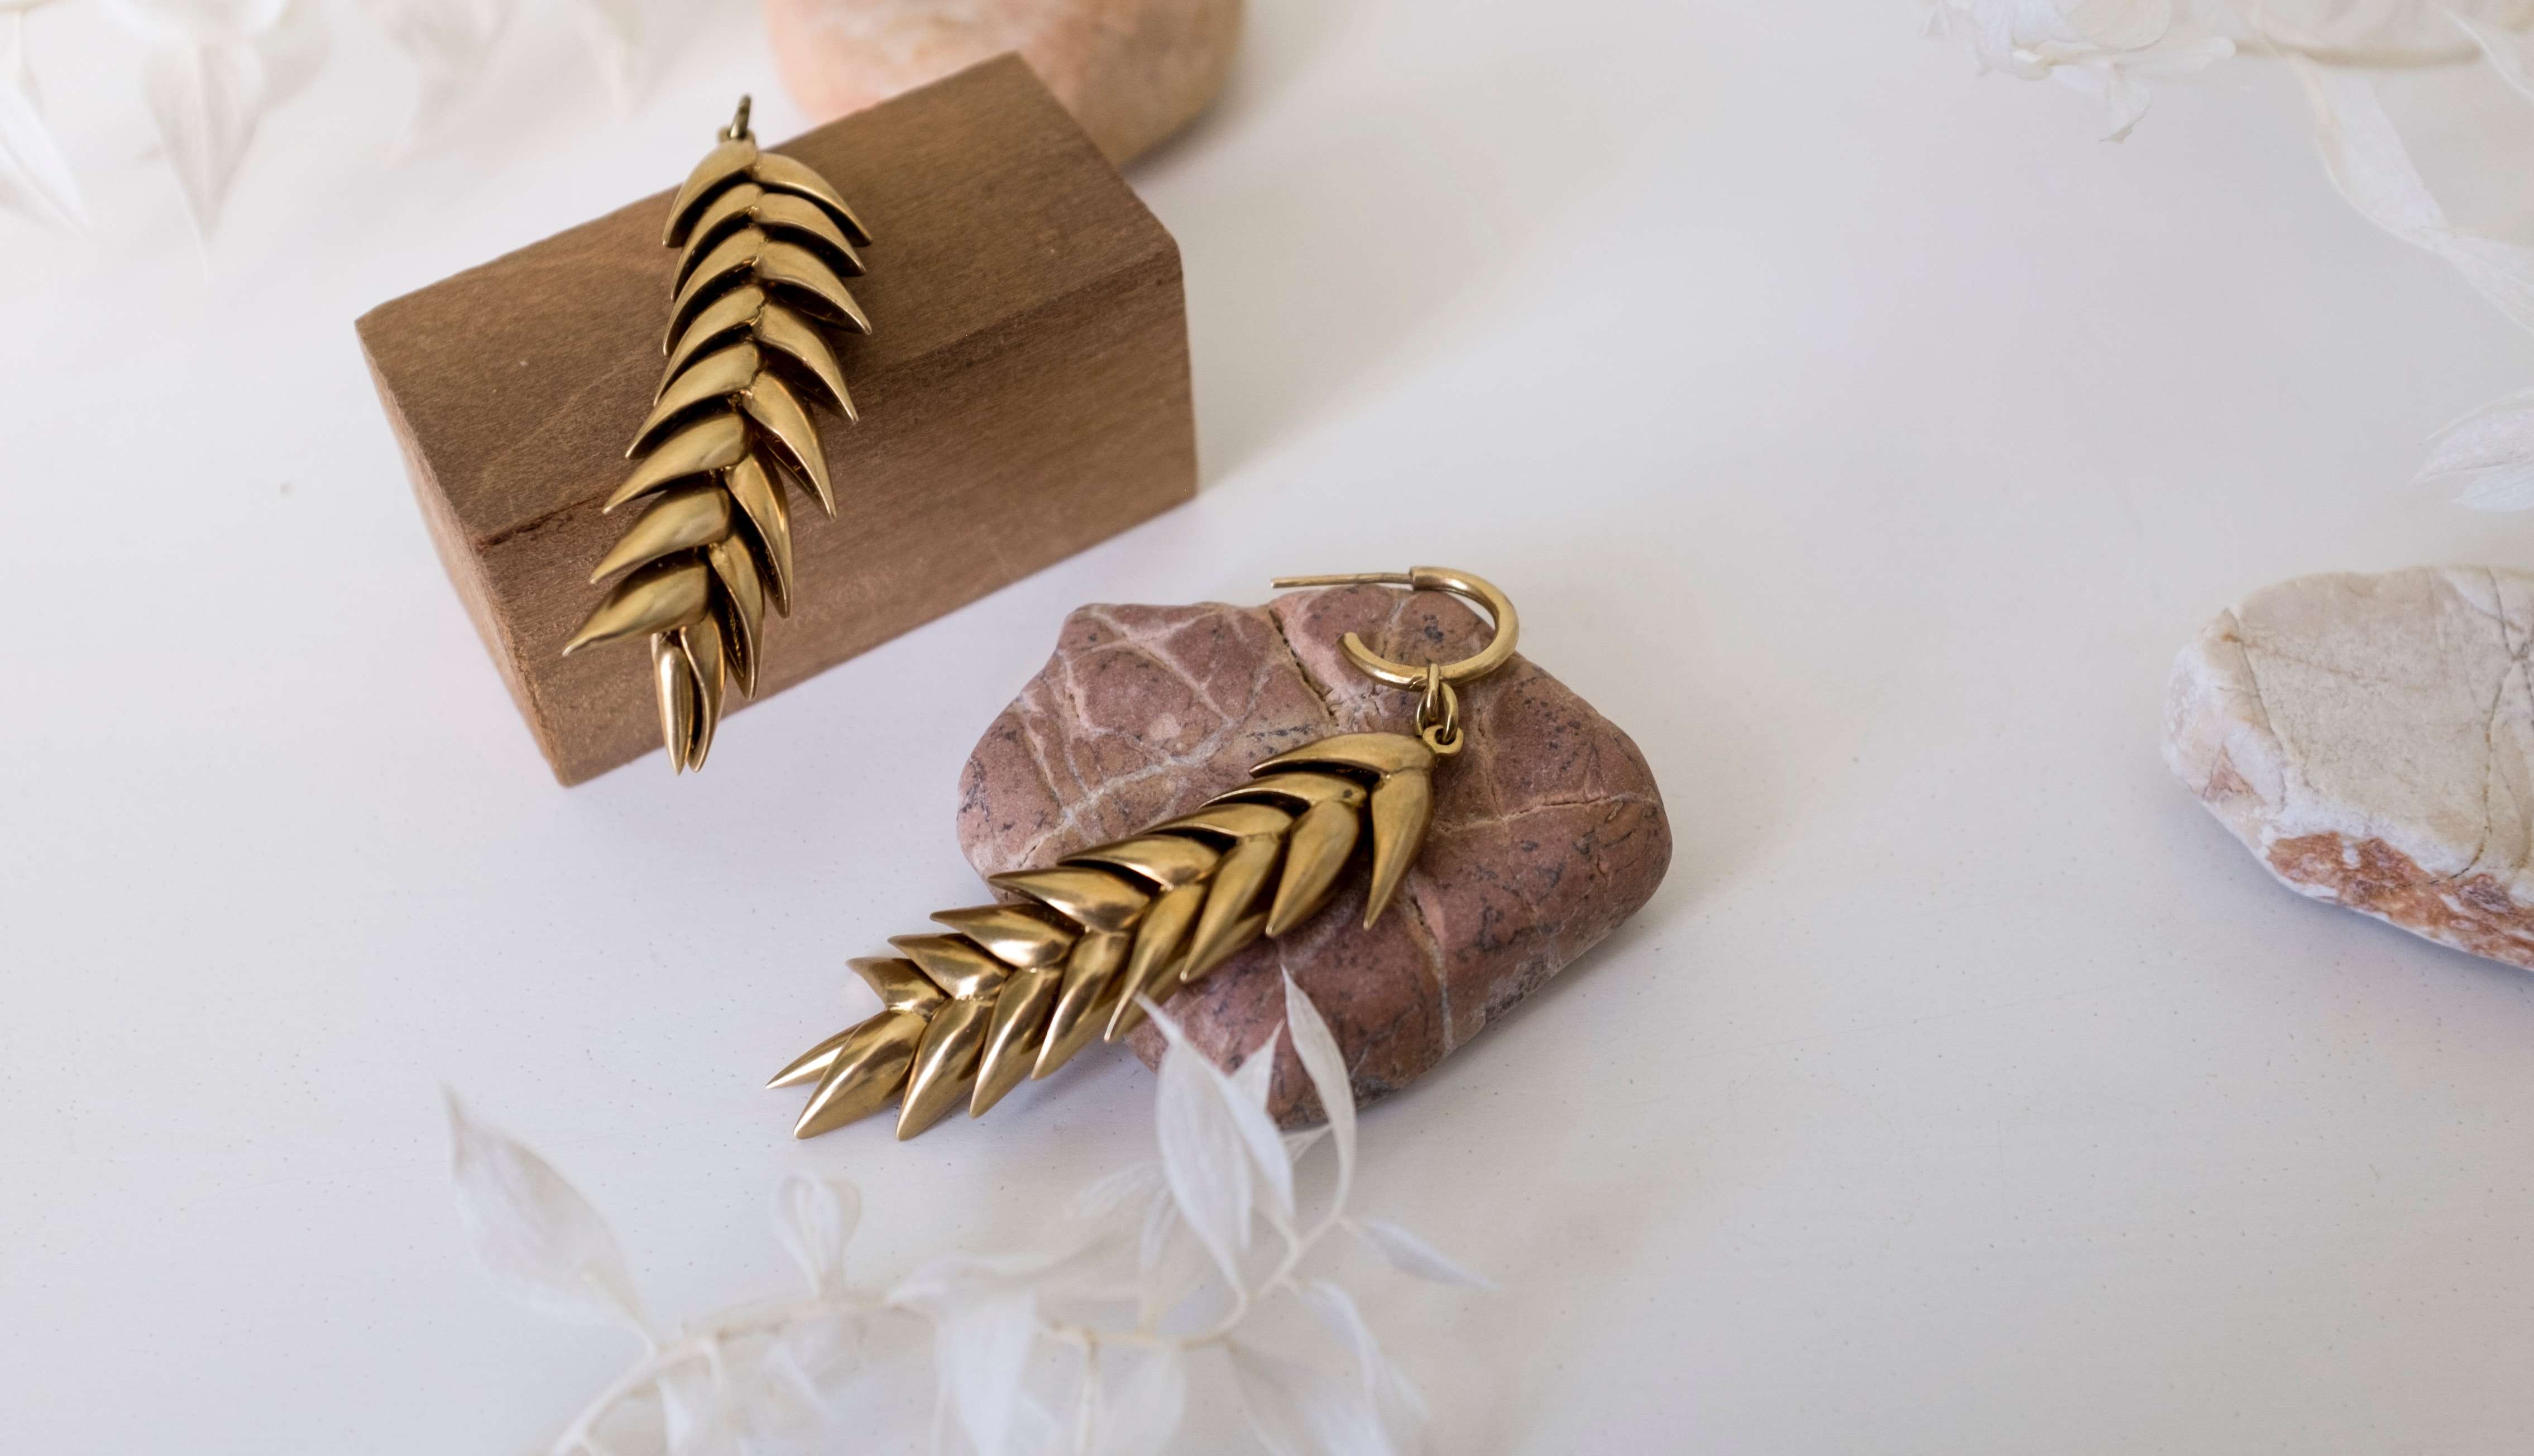
When you photoshoot earrings, you don’t want any element of the photo to be distracting and take away the viewers’ attention. You want to create an appealing composition that highlights the jewelry’s materials, colors, and style. Of course, you’ll also want to arrange the props and accessories in such a way as to highlight the unique features of the earrings themselves.
Use the props to position the earrings better. Rely on them to showcase different sides of the jewelry. If you have any props that contain your brand logo, for instance, or your slogan, use them to subtly include branded elements in your photos.
Step 4. Capturing Stunning Earring Shots
Finally, it’s time to take your shots. There are a few things you’ll want to keep in mind when trying to capture the perfect earring photo.
Choose the right earring product photography lens
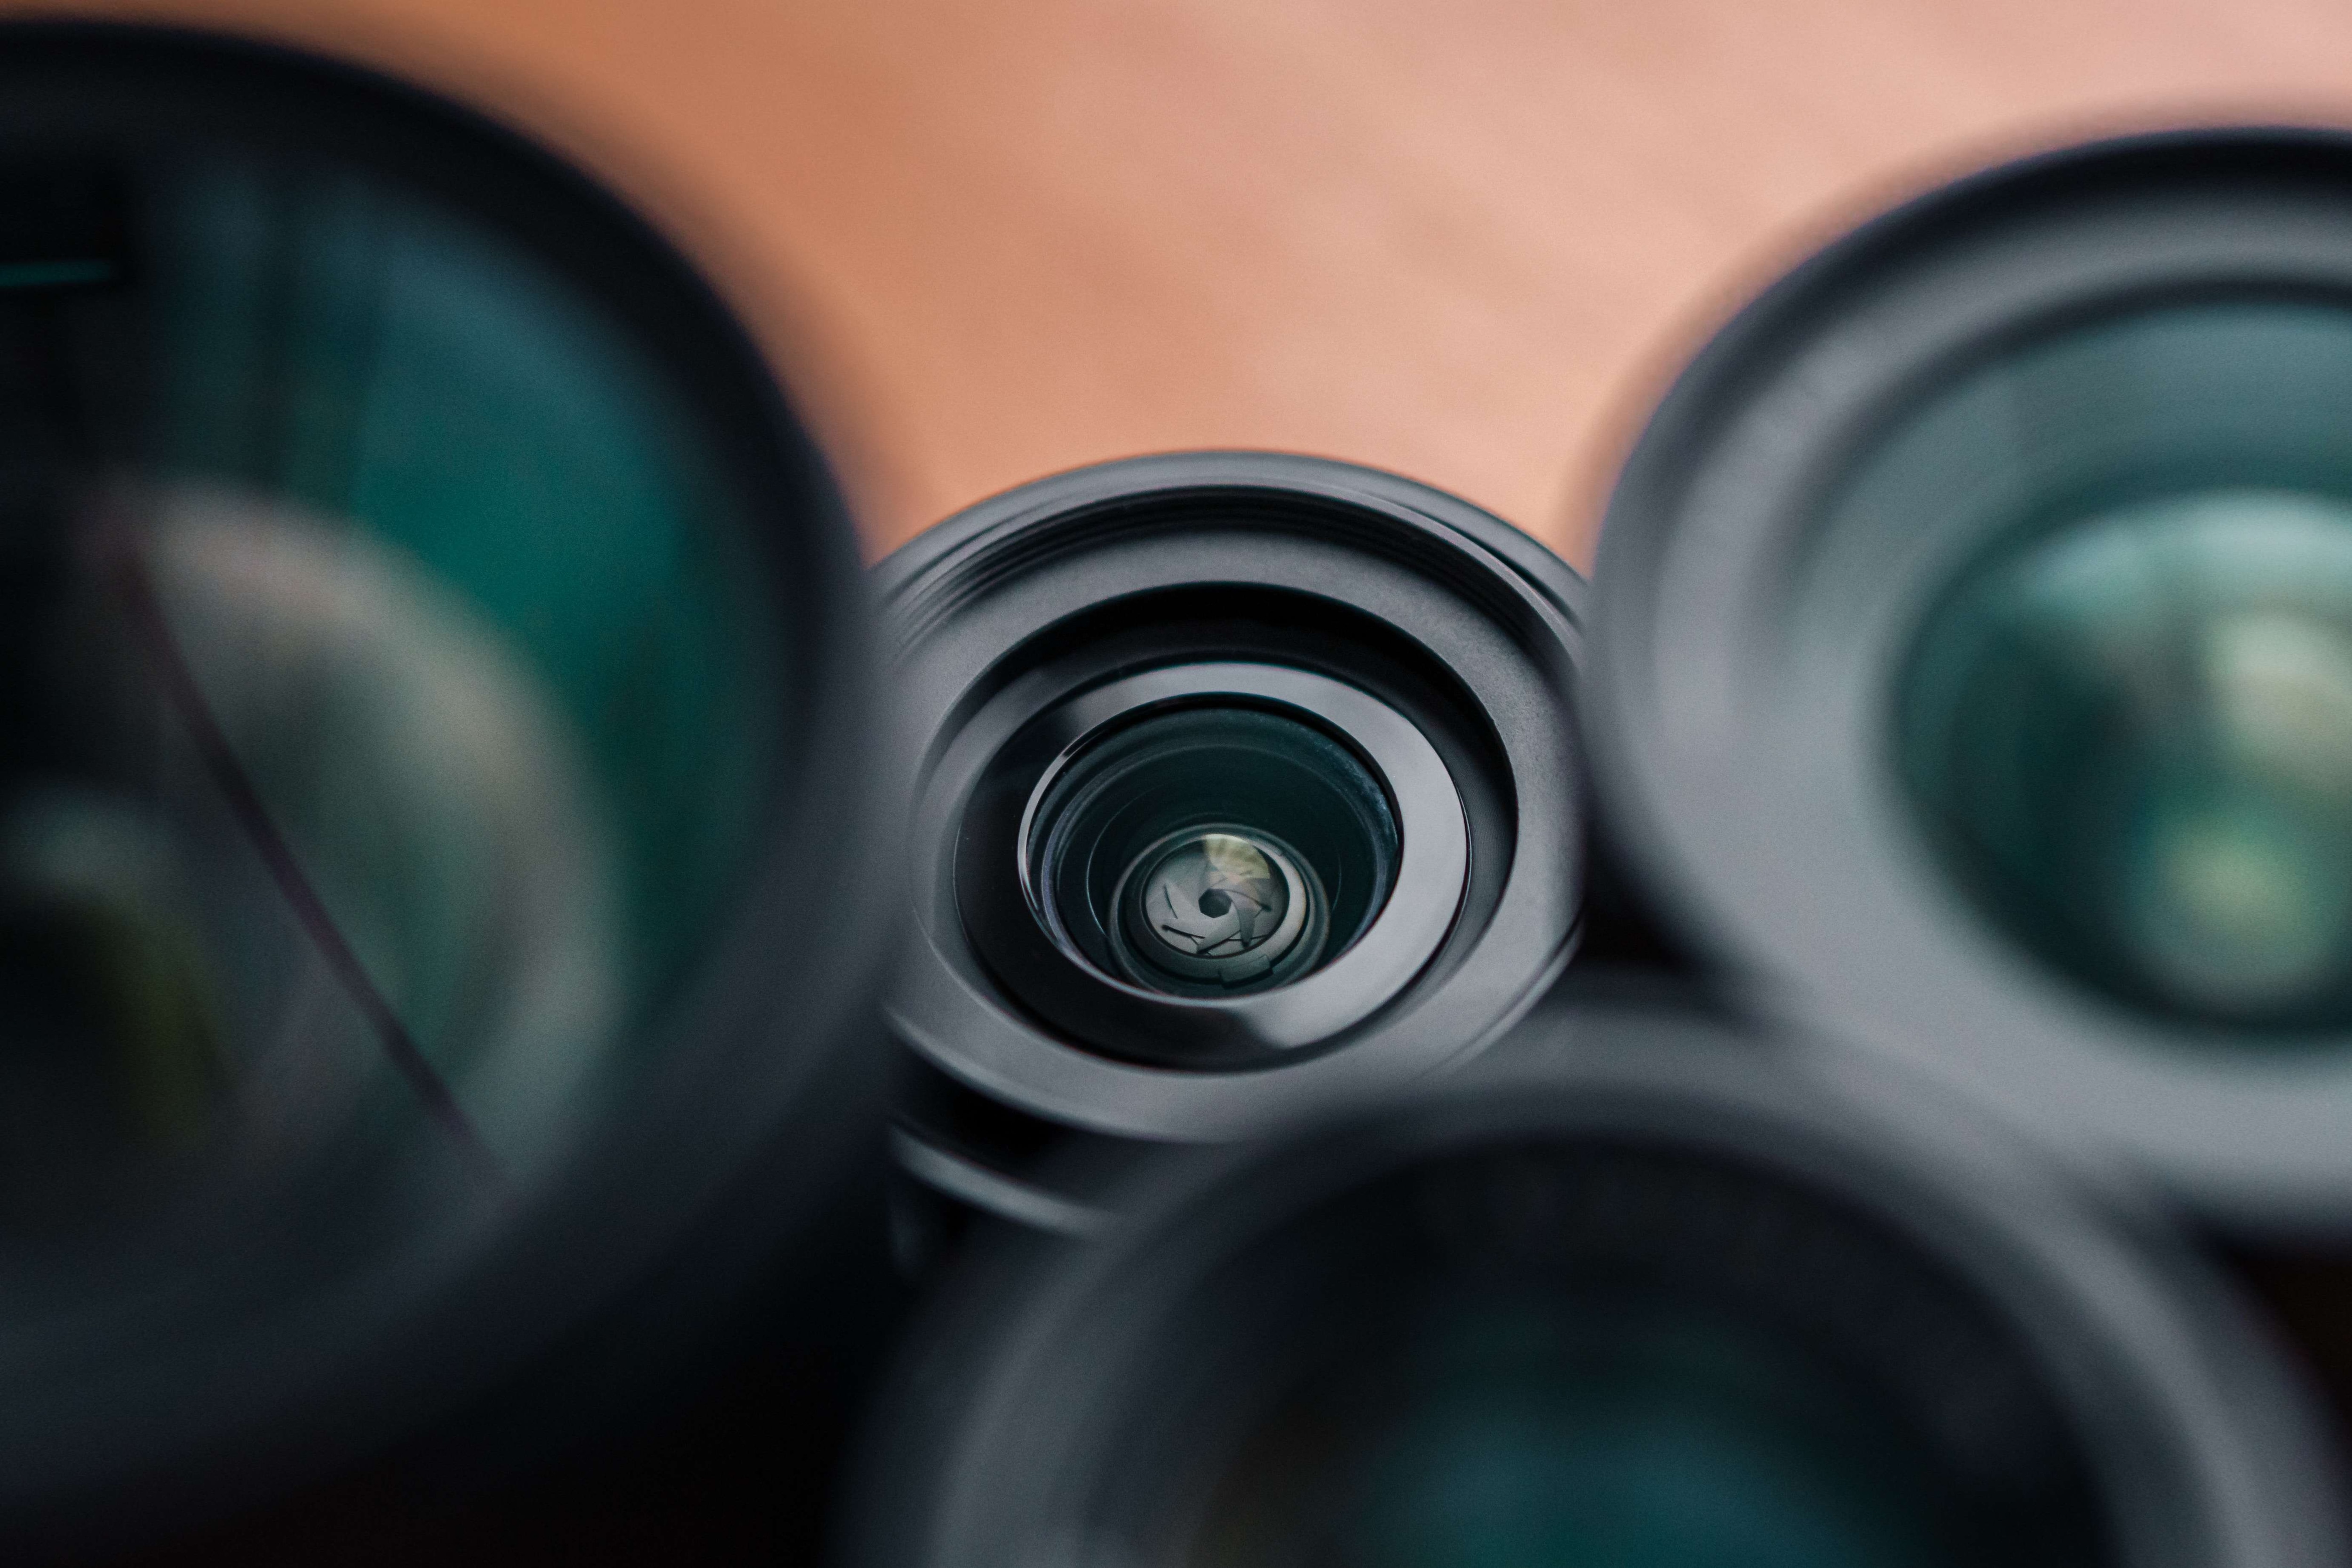
You’ll need a macro lens for any type of small product photography. It lets you get up close and personal with the product, capturing every detail. As a general rule of thumb, you’ll want to use a macro lens at least 85mm to 100mm, though the more, the merrier.
You could also experiment with prime lenses as they deliver higher photo quality or zoom lenses if you need more versatility. However, a macro lens is still a must.
Setup your camera for capturing fine earring details
Your camera settings will play a massive part in how your earring photos turn out. The wrong white balance, for instance, will make the color of your jewelry less than ideal, going so far as to deceive prospective buyers. If your ISO is too high, your photos will appear grainy and amateurish, turning away customers.
So, play around with the settings until you’ve found the perfect camera setup that helps you highlight the details and make the earrings in your photos seem as lifelike as possible.
Experiment with different angles and perspectives for variety
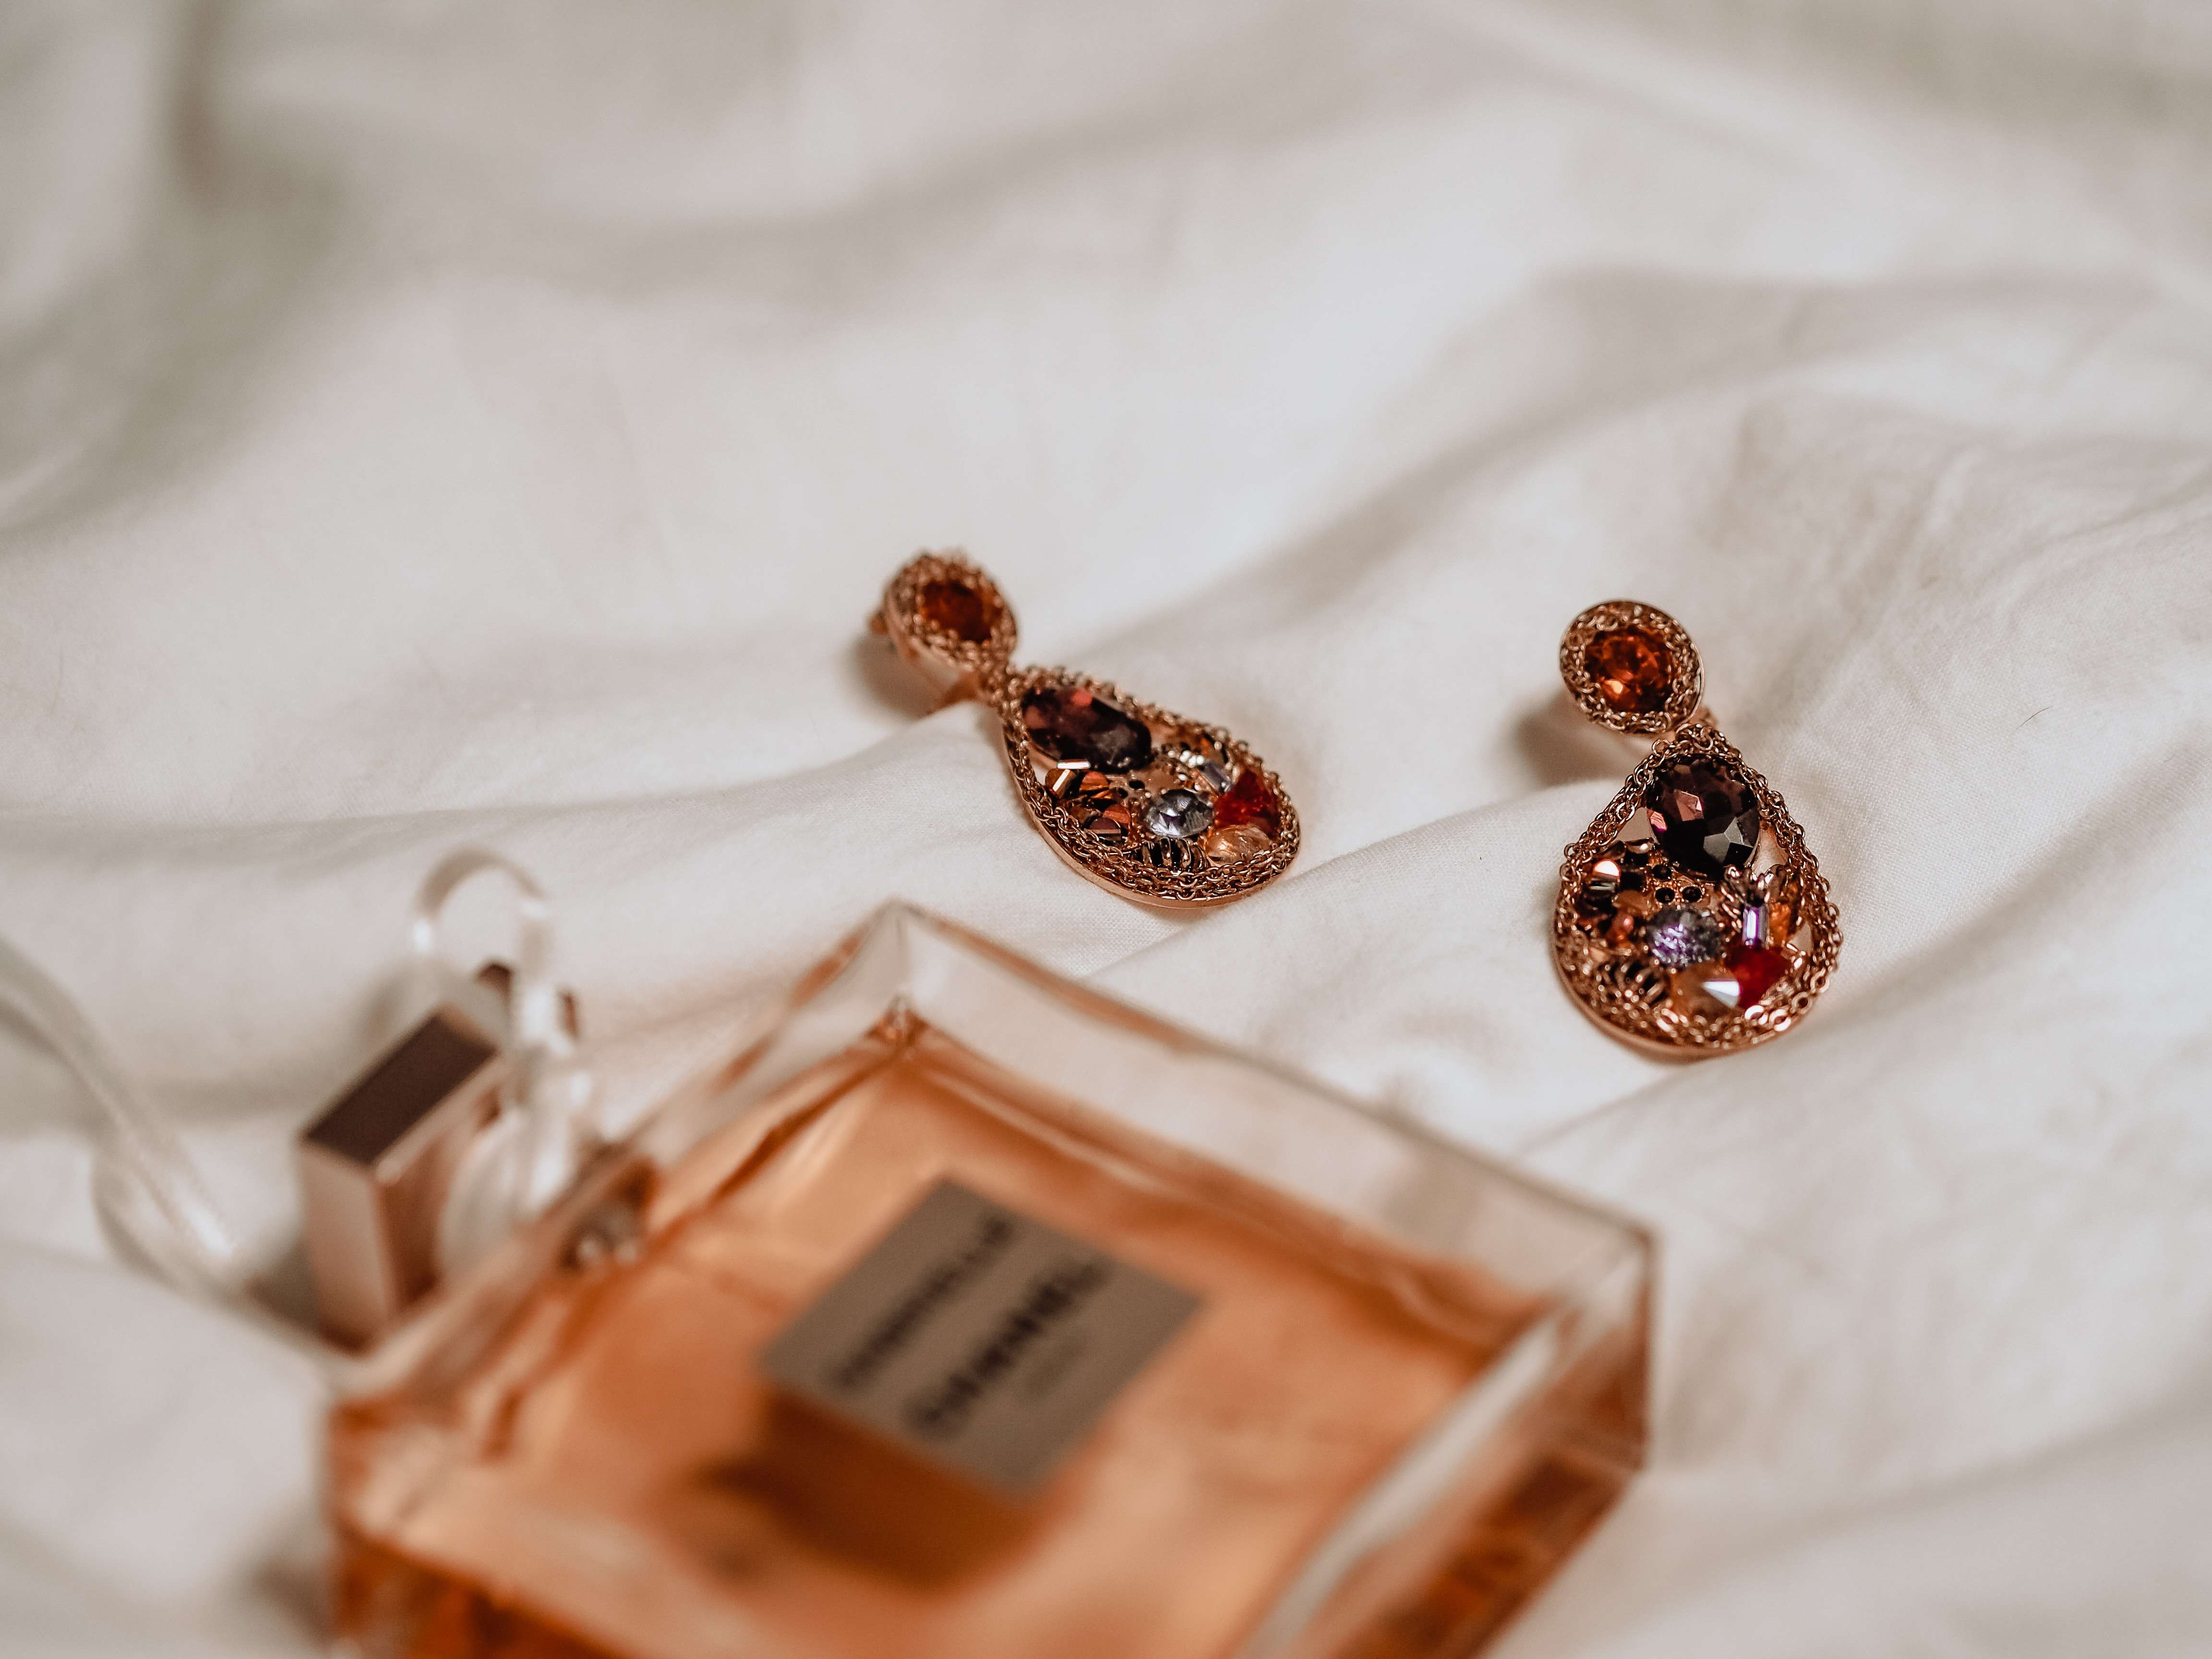
Experimenting with different angles and perspectives is critical for both product and editorial earring photography. In product photos, it gives you a chance to showcase the pieces from every angle to prospective buyers. In editorial photos, it allows you to intrigue viewers and grab their attention.
Therefore, you’ll want to ensure you have as many photos of your earrings from as many different angles as possible. It introduces more variety and gives you more options when choosing which photos to post.
Utilize macro photography techniques to showcase intricate features
Using a macro lens and taking normal shots is not enough. You must adjust your shooting style to capture as many details as possible.
Some common macro photography techniques include using your camera flash, relying on a tripod and a remote trigger (even the tiniest shake of your hand can ruin your photos), and adjusting the focus manually. Of course, you’ll also want to take as many photos as possible to give yourself more flexibility.
Pay attention to composition and framing for visually pleasing results
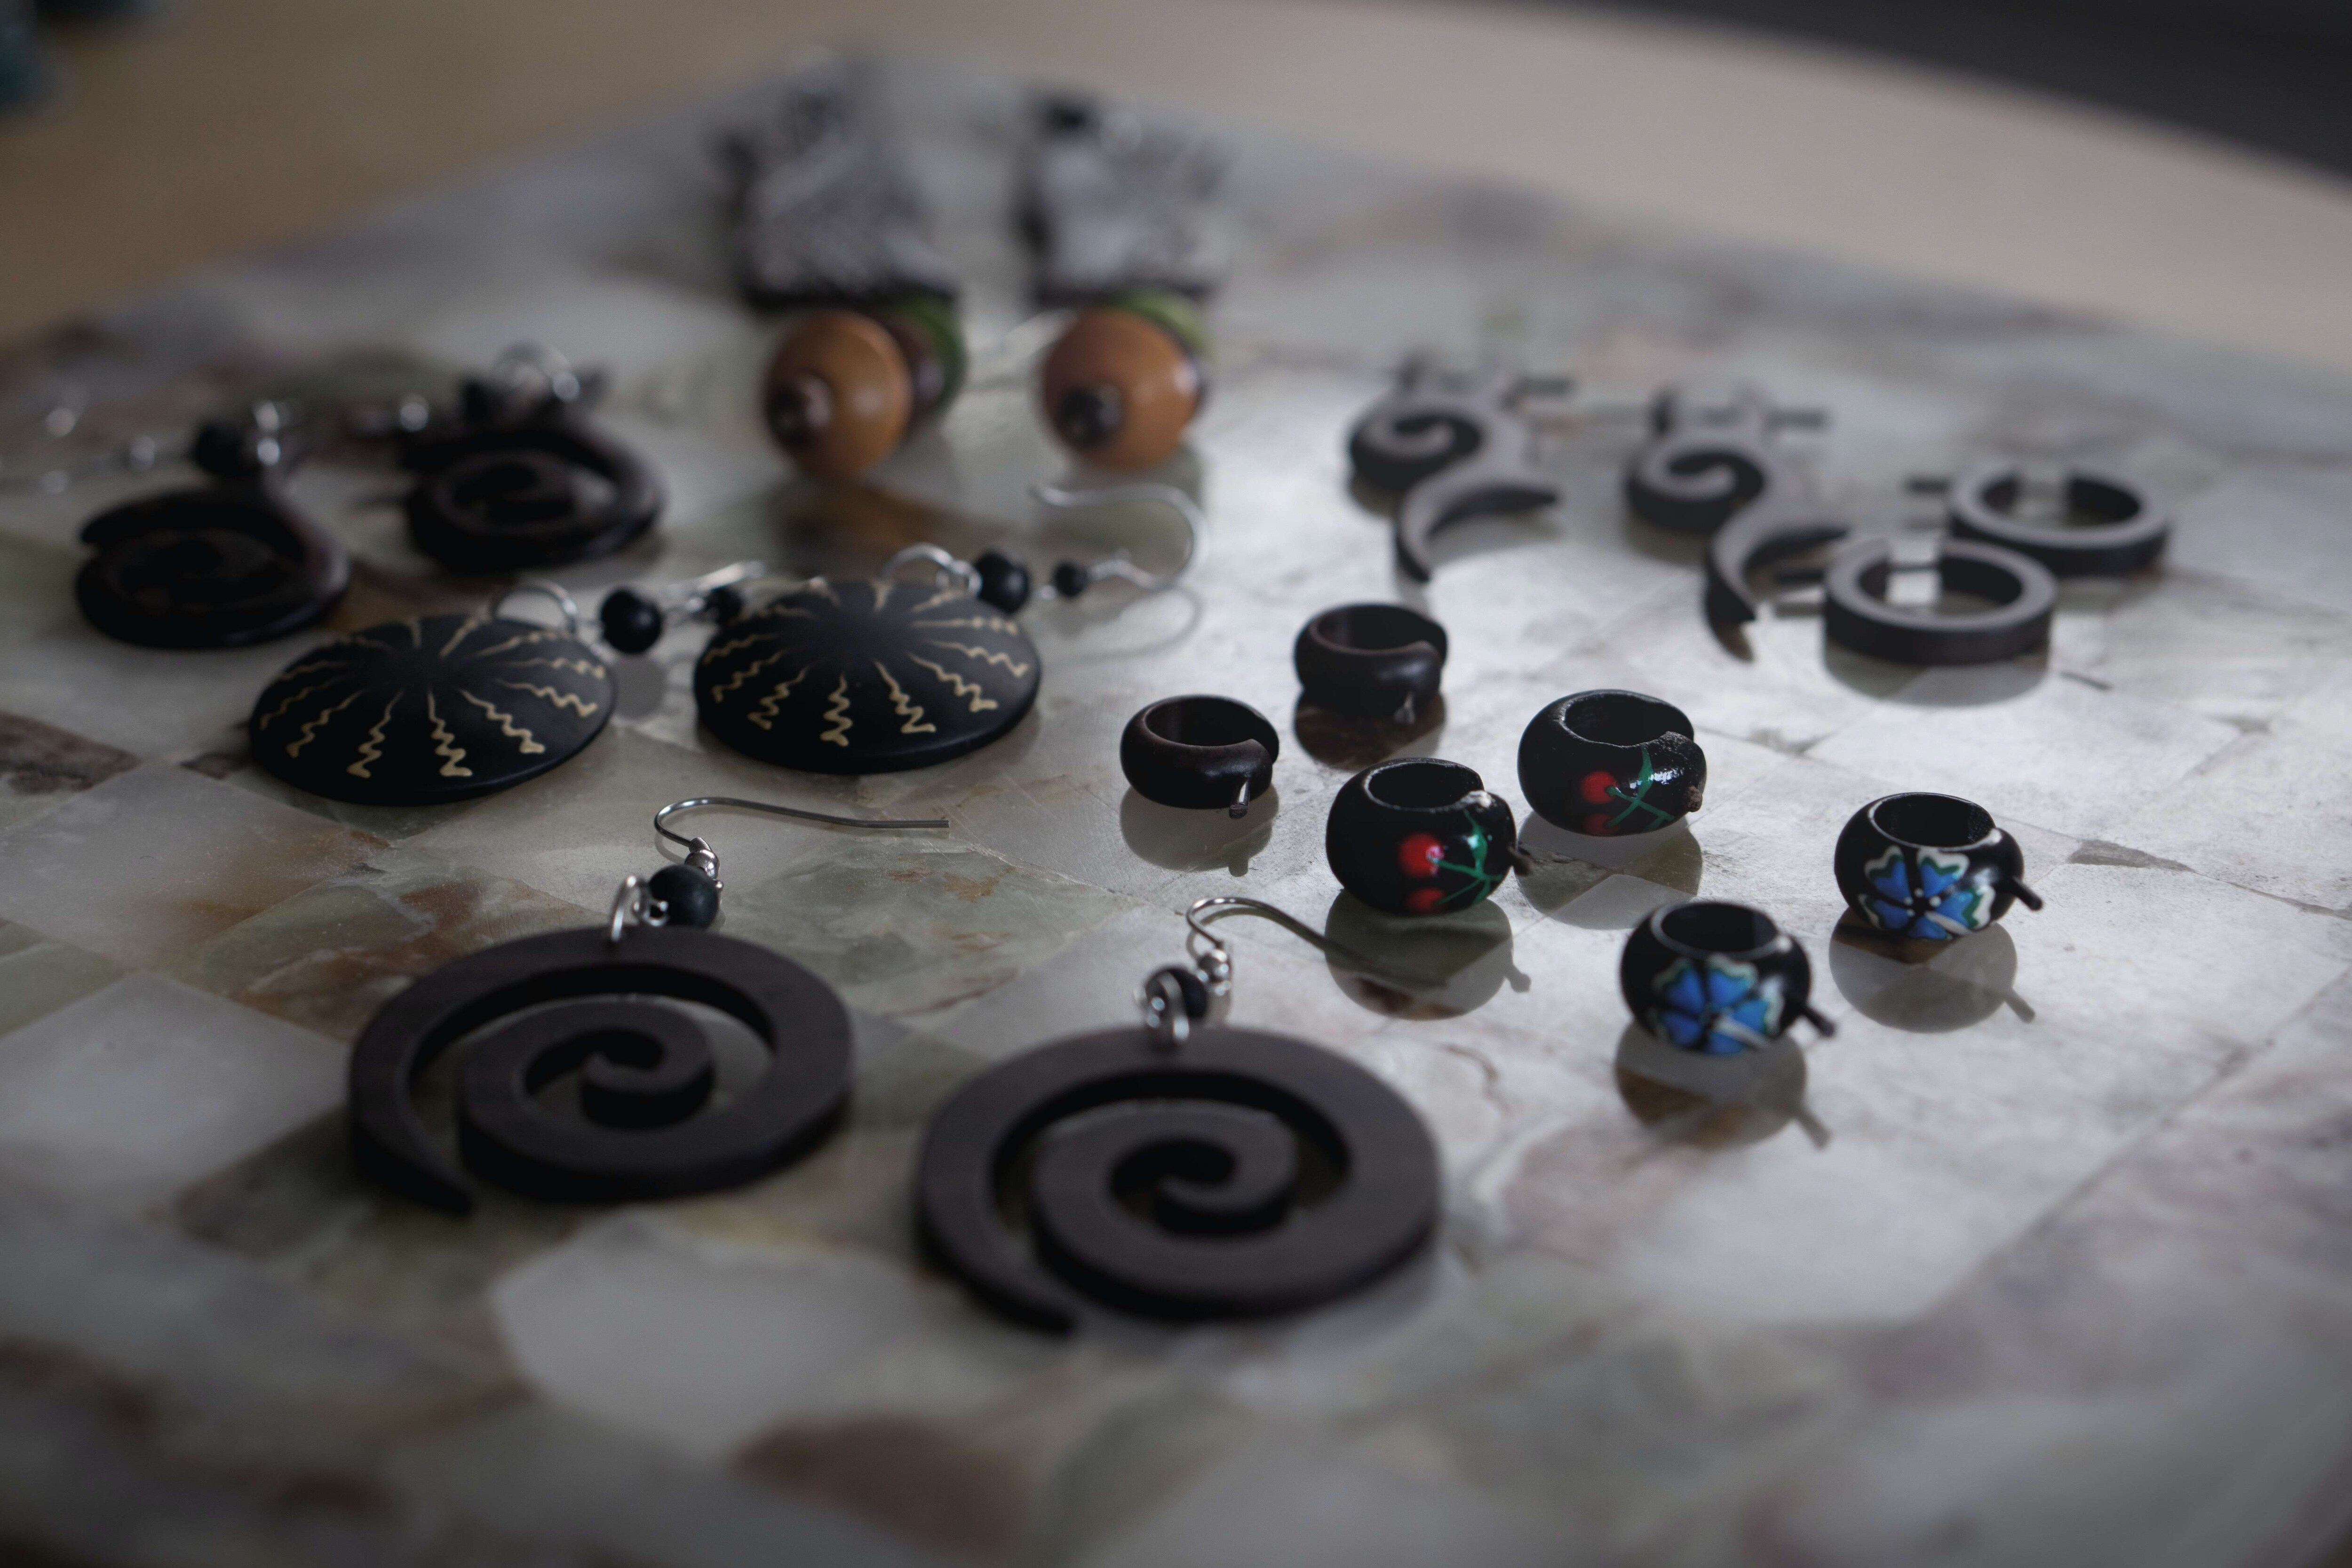
Even if you have a fantastic shot, your earring photos will look unappealing if your framing and composition are off. Therefore, you’ll need to pay close attention to how you frame your photos and where the accessories and props are, ensuring that your earrings are front and center, without any distractions that will pull the viewer’s eye away from them.
Step 5. Enhancing the Earring Photos
Although you’ve already taken all your earrings shots, your work is still not done. It’s time to take your favorite editing software and start enhancing the photos.
Post-process techniques for fine-tuning the images
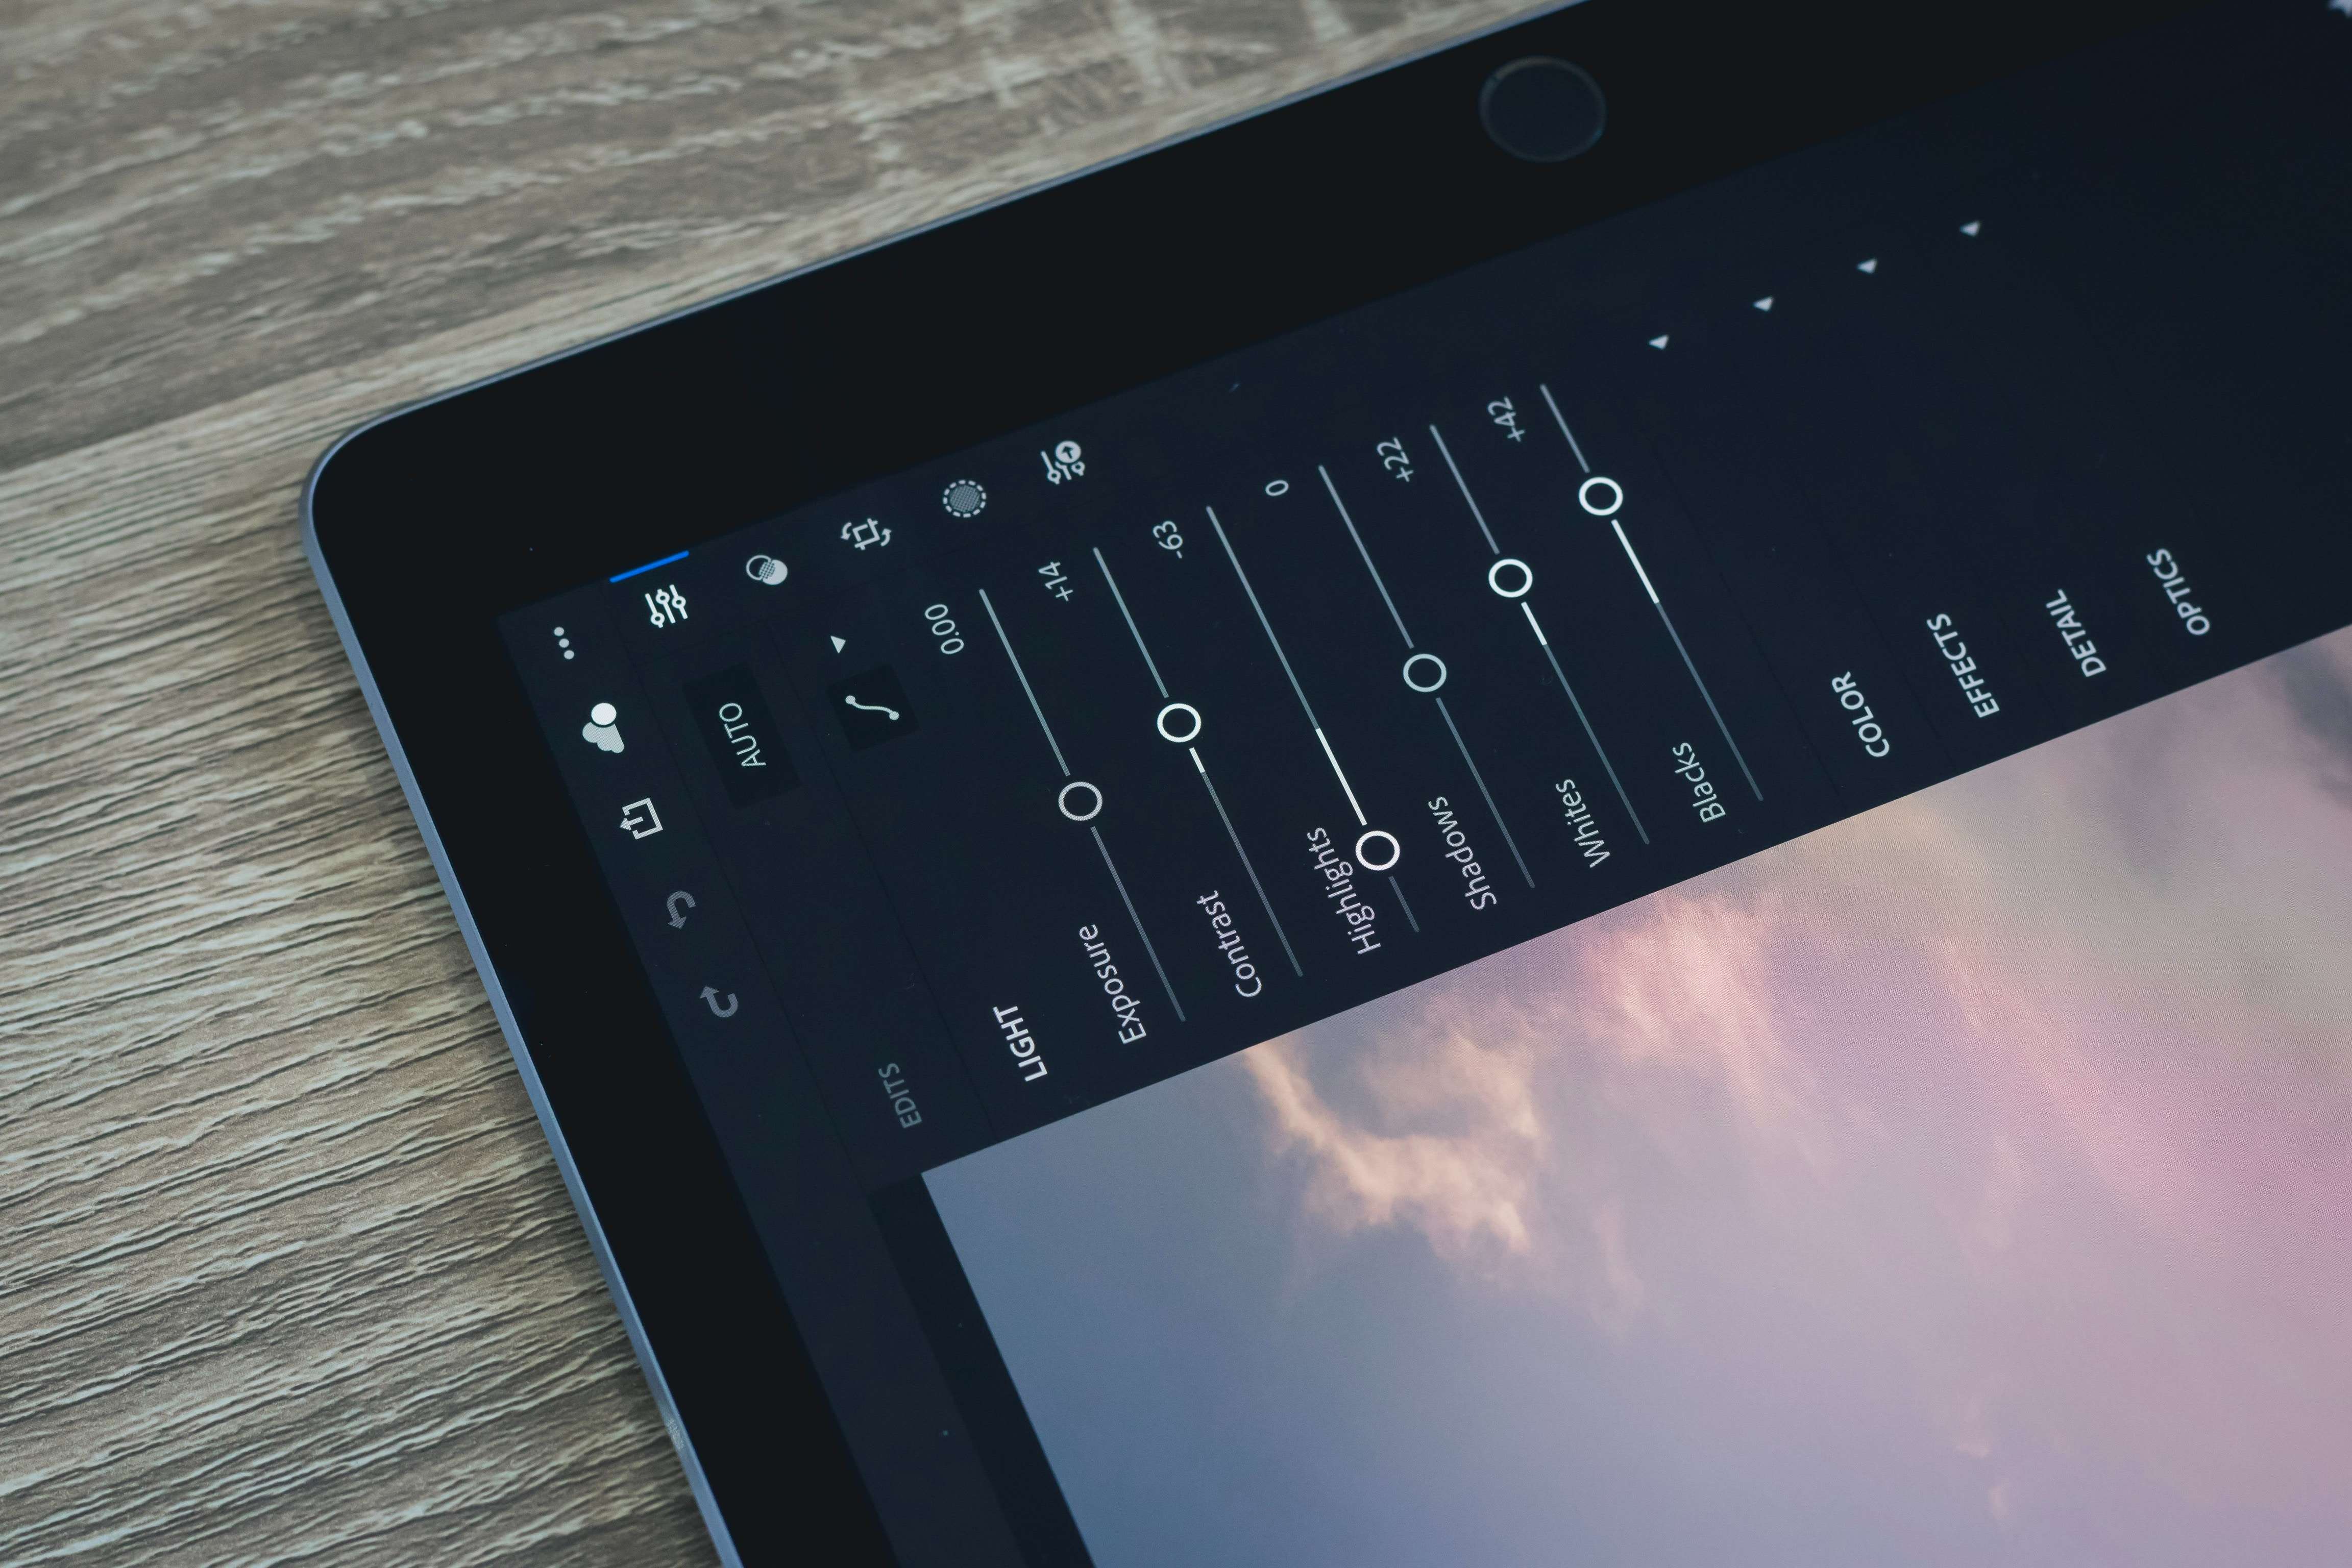
Even the best photographers need to use photo editing software to perfect their jewelry photos. Whether you just need to crop your images, sharpen them, remove the noise, or anything in between, make sure you’re using the right tools to fine-tune your earrings’ photos and make them stand out.
Adjust exposure, color balance, and sharpness
Exposure, color balance, and sharpness can be adjusted directly on your camera. However, you’ll likely need to do some additional post-processing in your editing tool of choice to ensure that all your photos are nothing short of perfect.
Remove any imperfections or distractions in the images
With earring photography, you’ll always have some imperfections in your photos. Your viewers might be able to see your reflection in the metal. Light might be reflected awkwardly, making it look like the earrings have scratches or cracks. Whatever the case, you’ll need to edit these imperfections out and ensure that each jewelry piece is absolutely flawless.
4 Tips for Earring Product Photography
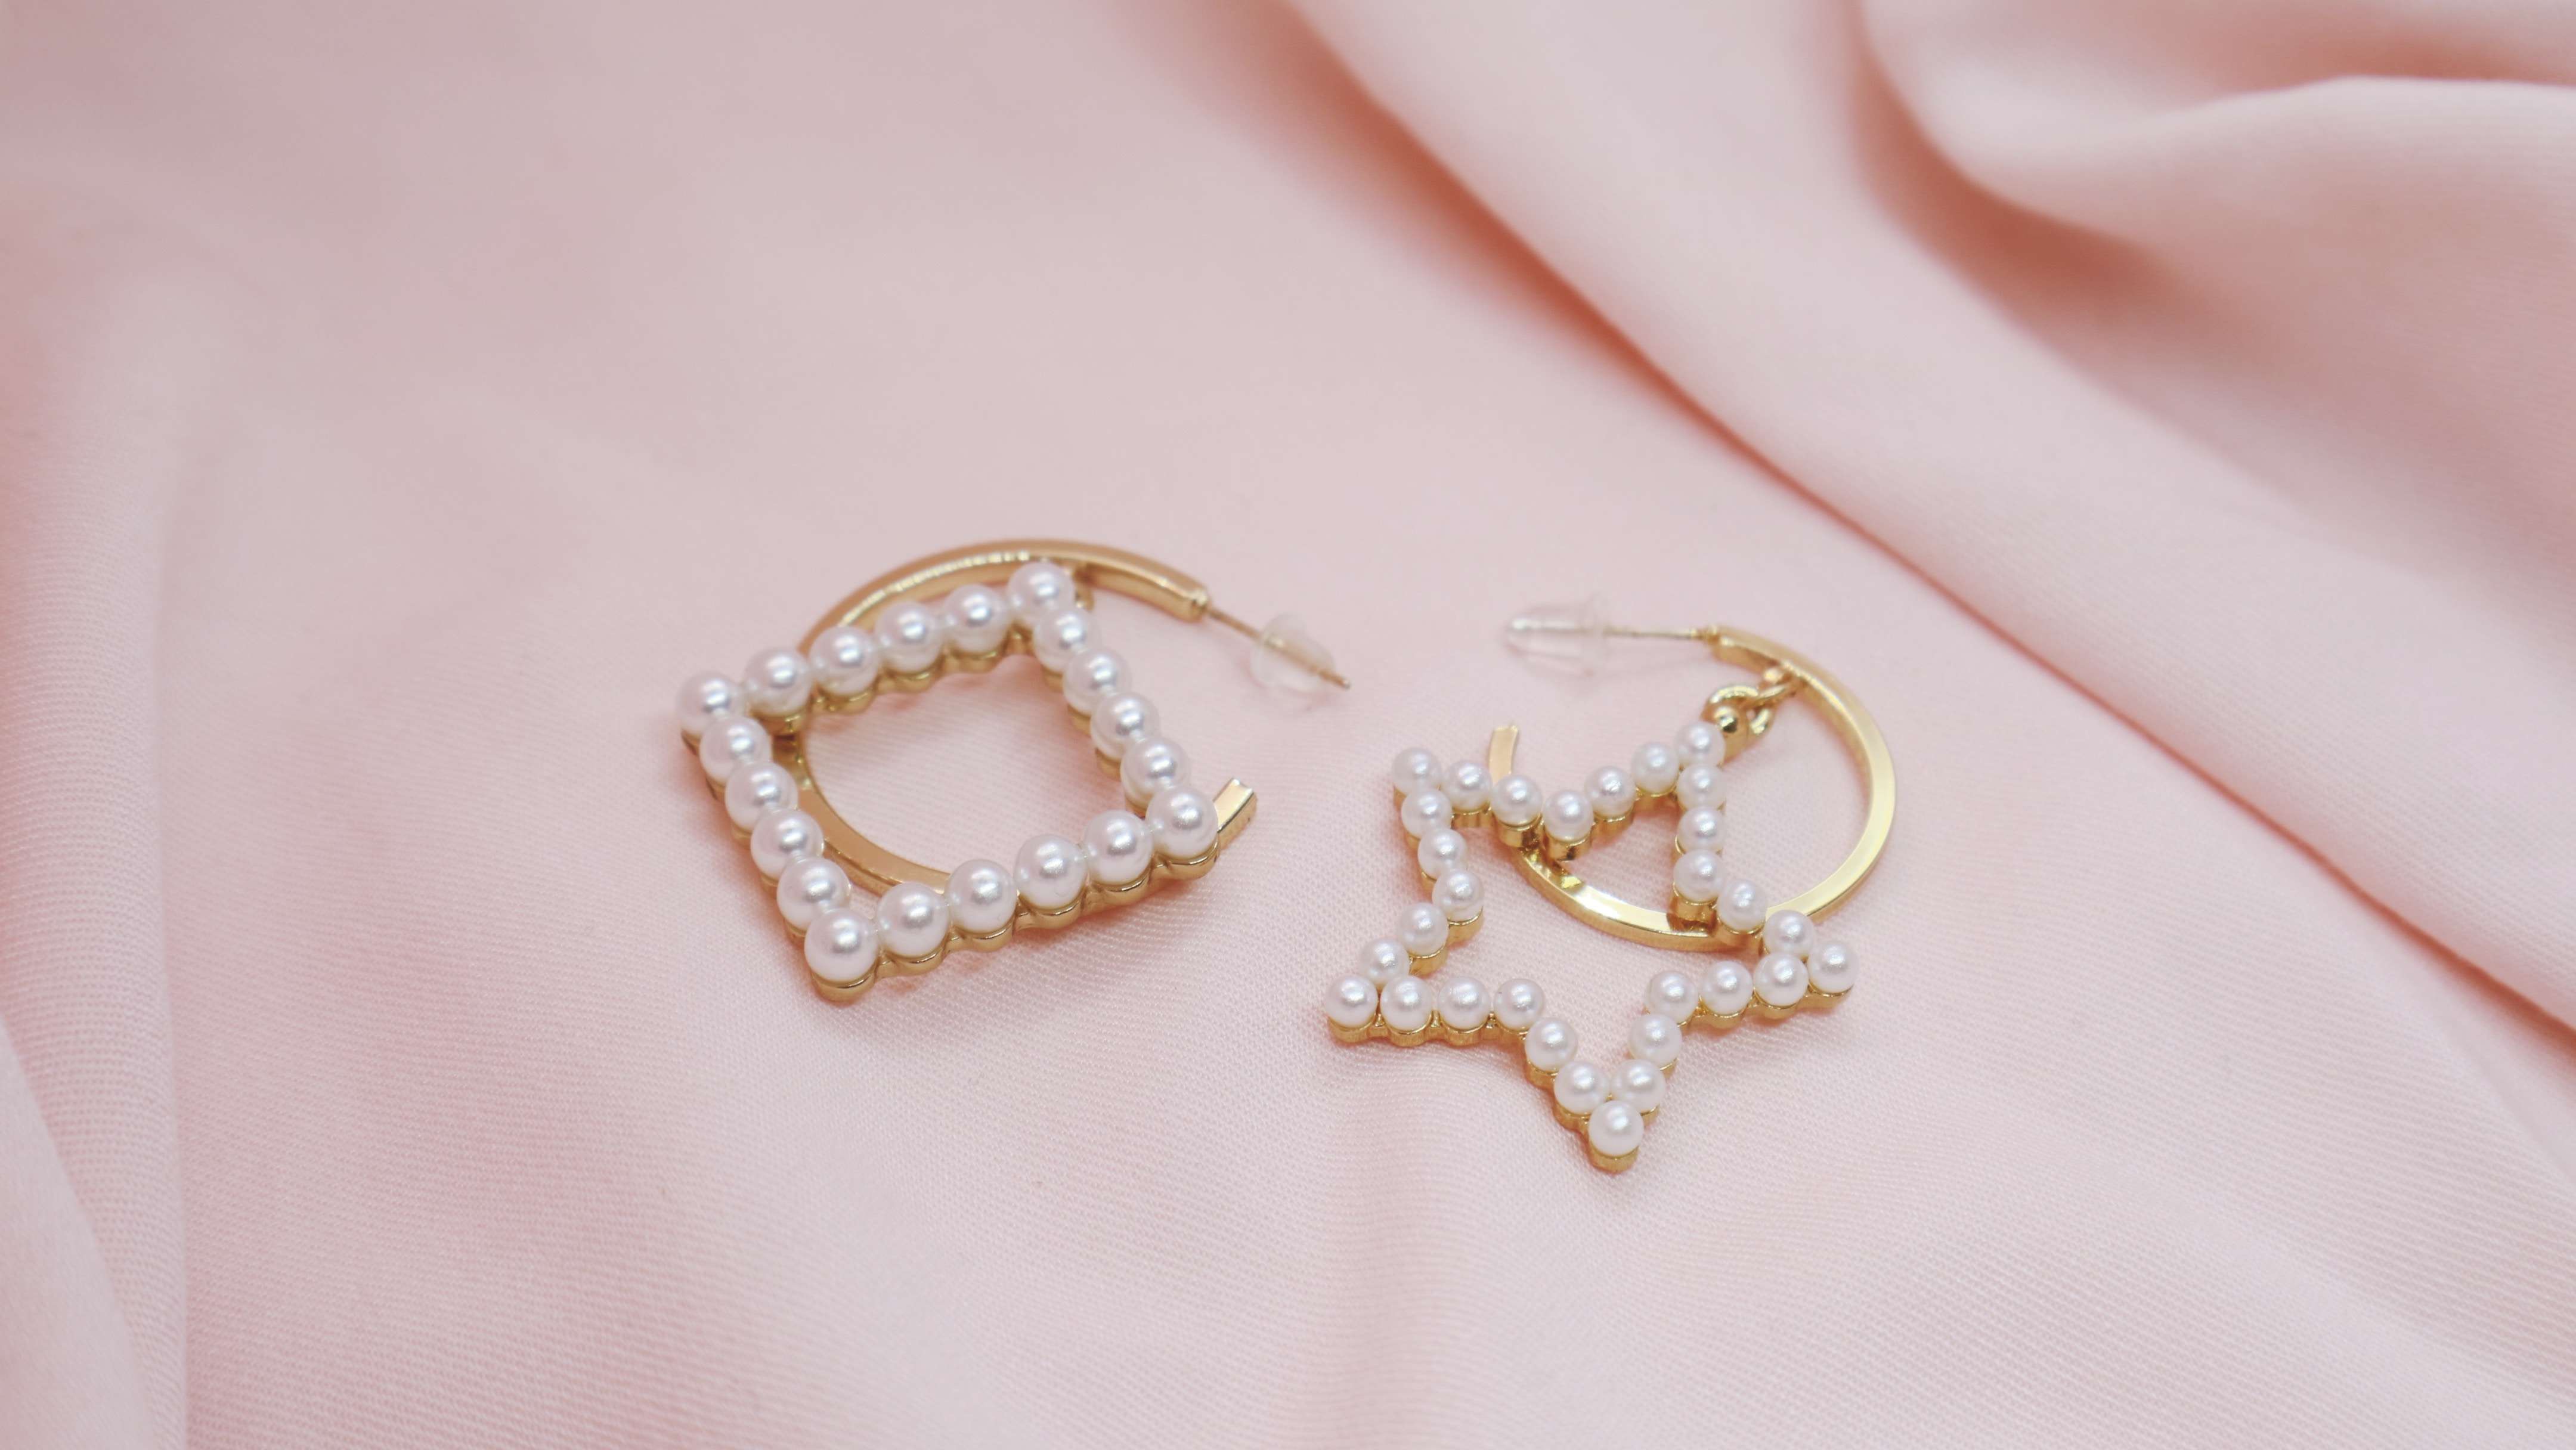
To take your earring product photography to the next level, you’ll need to follow a few additional tips and tricks of the trade.
1. Use Macro Lenses
As mentioned, macro lenses are a must. It’s always in your best interest to splurge a little on top-of-the-line lenses than to have to spend hours on your post-processing only to still achieve subpar results.
Regardless of the quality of your camera, invest in a suitable macro lens for earring photography.
2. Get Reflectors
Softboxes and reflectors should always be a part of your equipment when photographing jewelry. They will help you avoid unwanted gleams and reflections that are difficult to edit, even with the best software that money can buy.
3. Stabilize Your Shot With a Tripod
When using macro lenses, the key to clear, detailed photos is keeping your camera steady. If your hands are shaky, or if you move the camera even slightly when pressing the trigger, you’ll end up with a grainy, unusable, out-of-focus shot.
So, get a cheap tripod and, if possible, even a remote trigger.
4. Make the Most of Natural Light
Finally, even with softboxes and reflectors, natural light is still the best type of light for product photography – depending on the type of earrings you’re working with. Ideally, when using natural light, you’ll want to schedule your photoshoots early in the morning, just before sunrise. That way, you’ll get plenty of illumination without having unappealing light reflections in your jewelry.
6 Creative Earrings Photoshoot Ideas
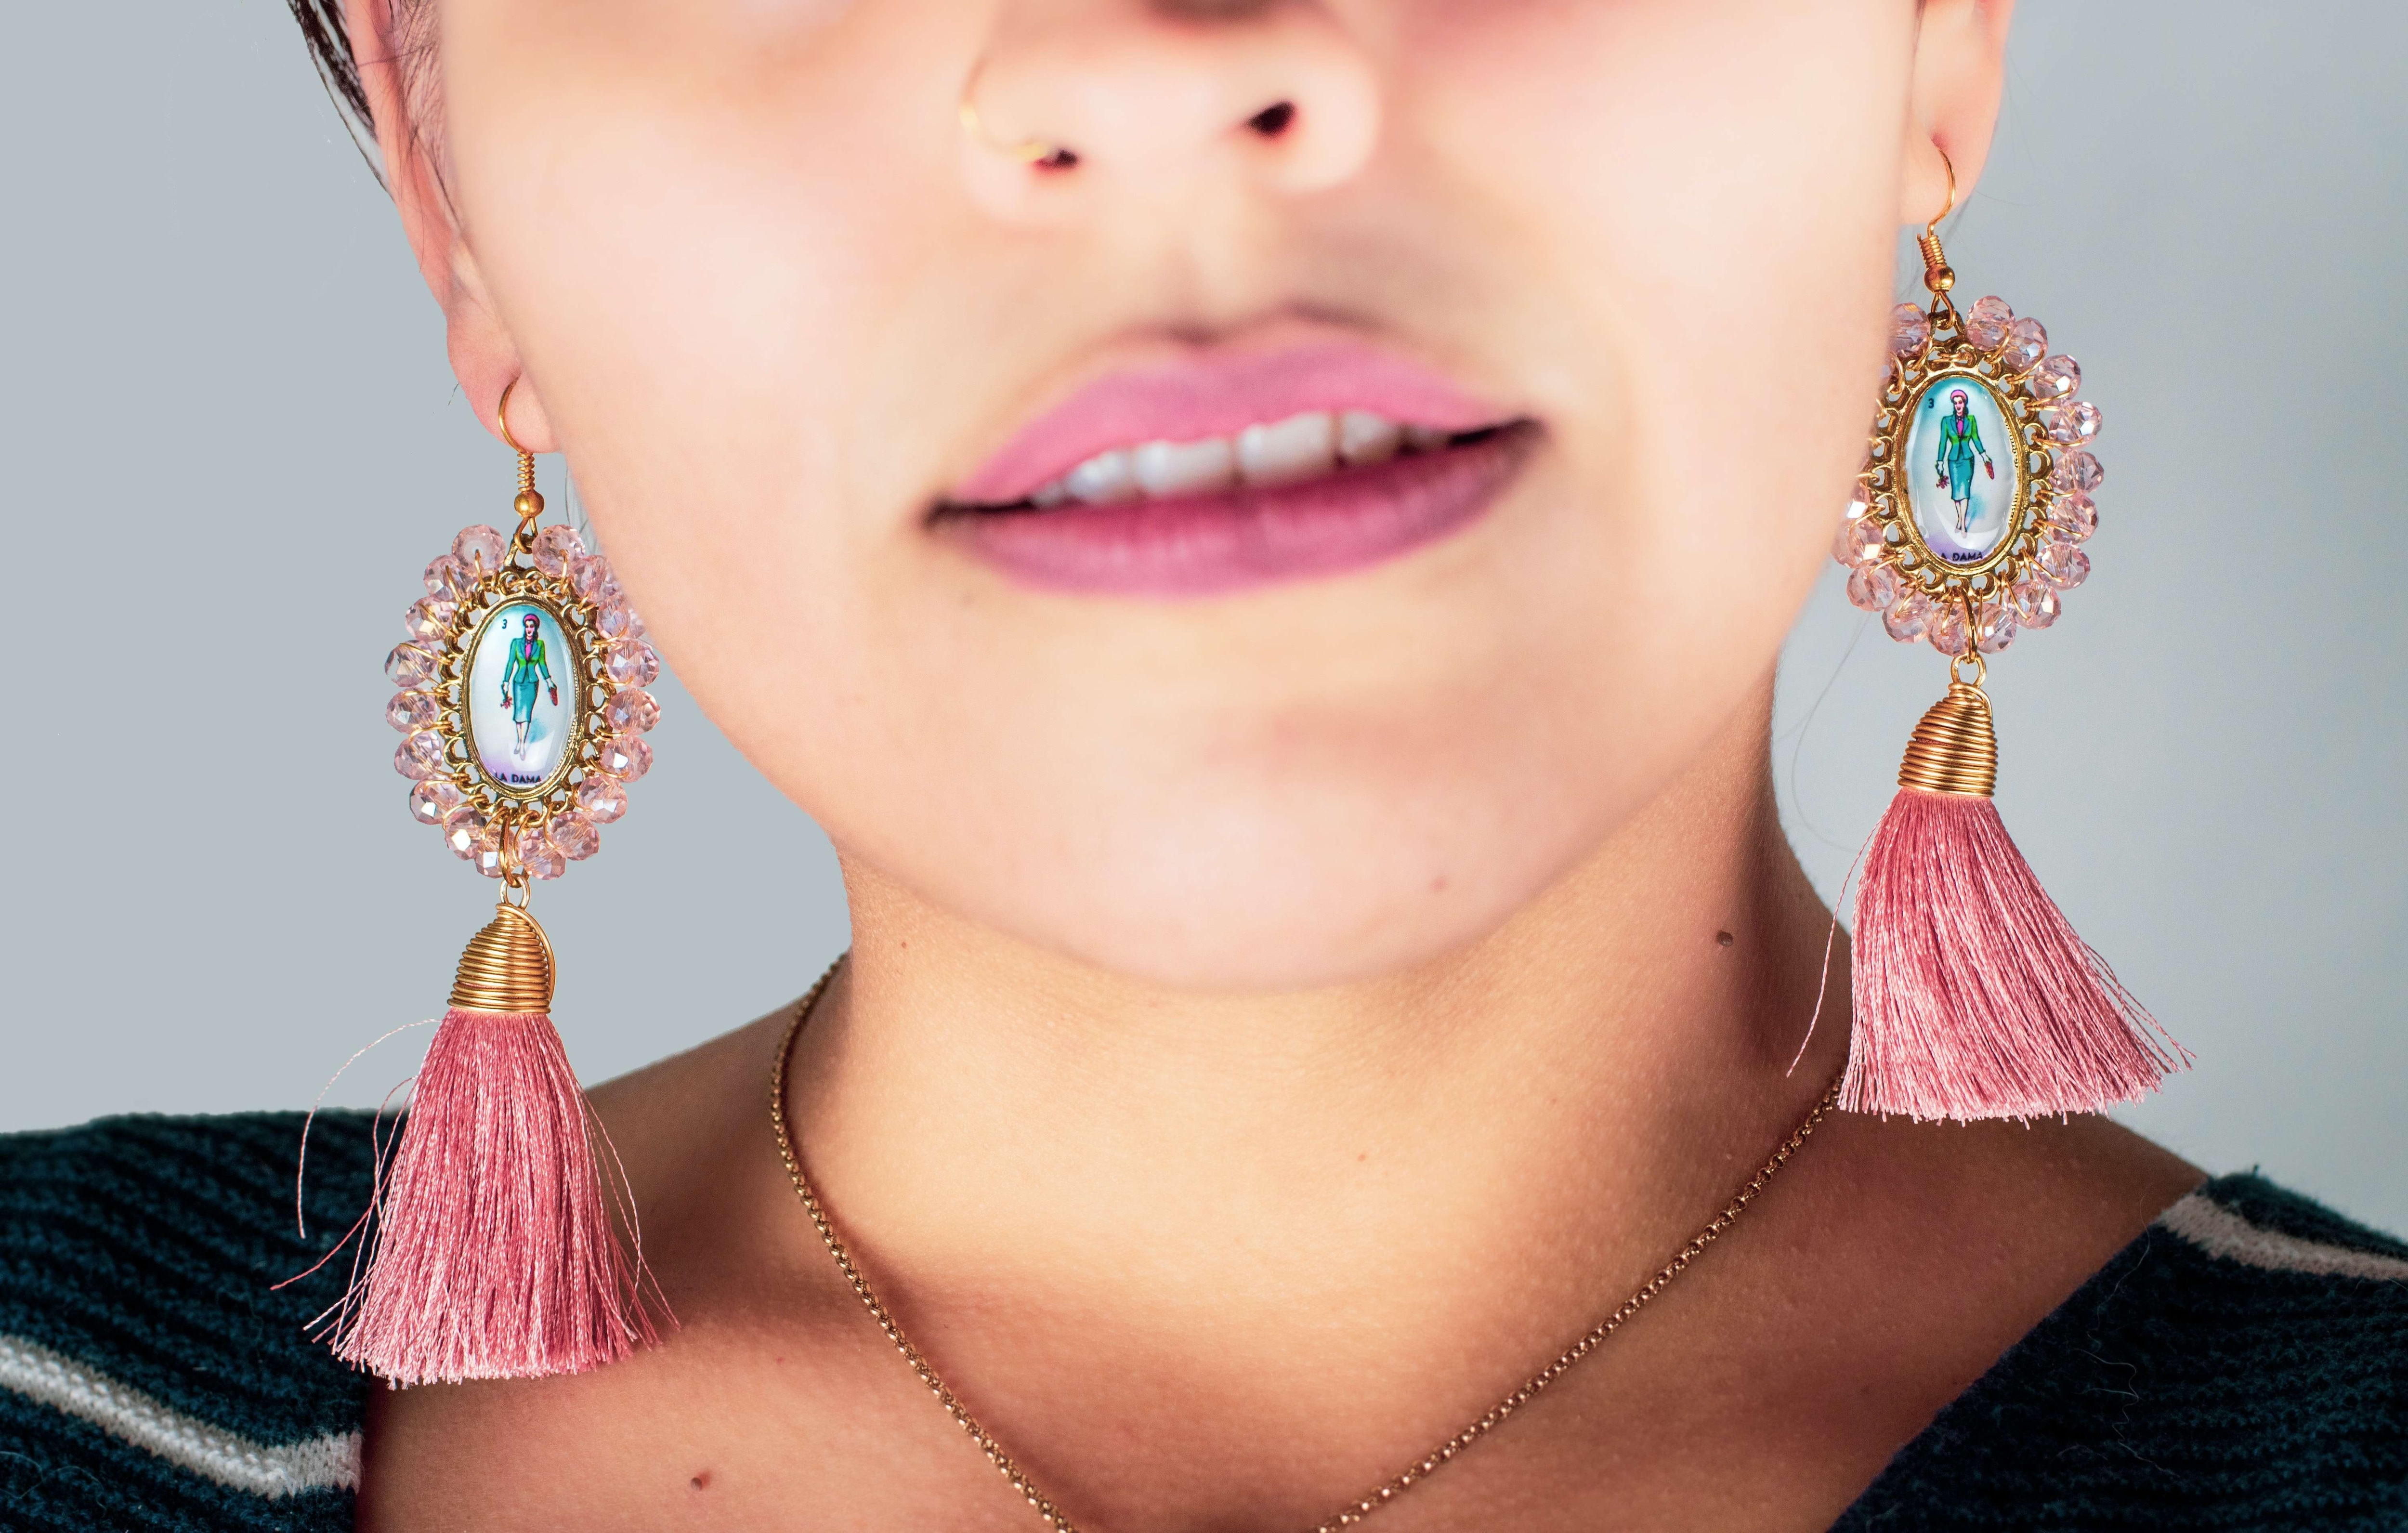
Even when following the steps and tricks above, you’ll still need creative earrings photoshoot ideas to make your product and editorial photography stand out.
1. Create Unique, Engaging Earring Product Photos With AI [Hot]
AI has come a long way in helping artists and photographers deliver mesmerizing results. So, make use of artificial intelligence photography!
With tools like Booth.ai, for instance, you don’t even have to schedule lengthy earrings photoshoots. All you need is a couple of earring reference photos, and the tool will use AI to generate lifestyle images that are often better than anything you can achieve in the studio.
To take advantage of Booth.ai, all you have to do is:
- Step 1: Upload your earrings reference photo;

- Step 2: Fill in a text prompt explaining the type of photo you’re after;
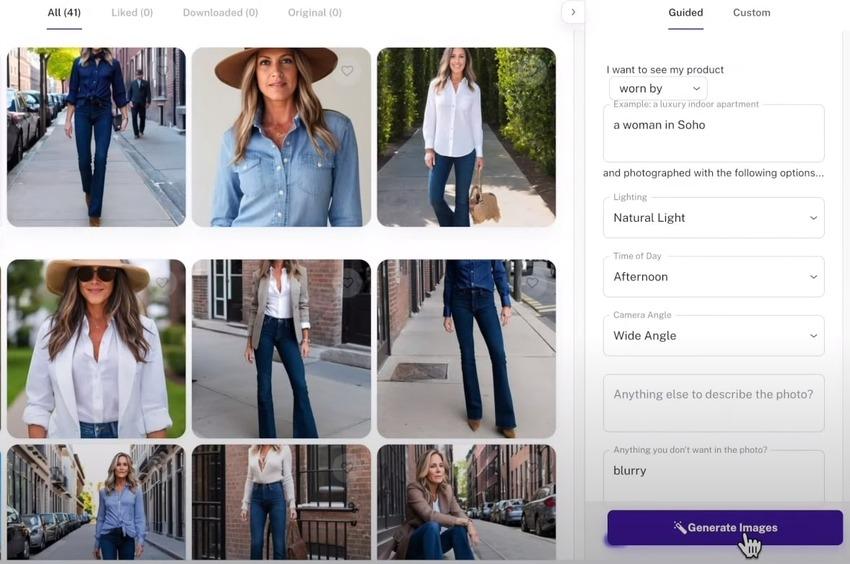
- Step 3: Click Generate Images and wait for the AI tool to create the desired photos.
AI tools can help you create stunning earrings photographs within seconds, so take advantage of them.
2. Use Strings to Hang Products
Whether you’re working with studs, chandelier earrings, hoops, or any other type of earring in between, you’ll likely encounter issues with propping them up. The simplest way to overcome them is by using transparent strings (like the aforementioned fishing line) to hang your products. They’re barely visible with the naked eye, let alone in photos, and you can always edit them out if they’re showing in some of your work.
3. Use a Mannequin
While working with a live model can make your photos feel more authentic, using a mannequin is often easier. You’ll be able to change the angles and perspectives without a hitch, and you won’t have to pay someone t model your products. It’s a win-win however you look at it.
4. Use Props
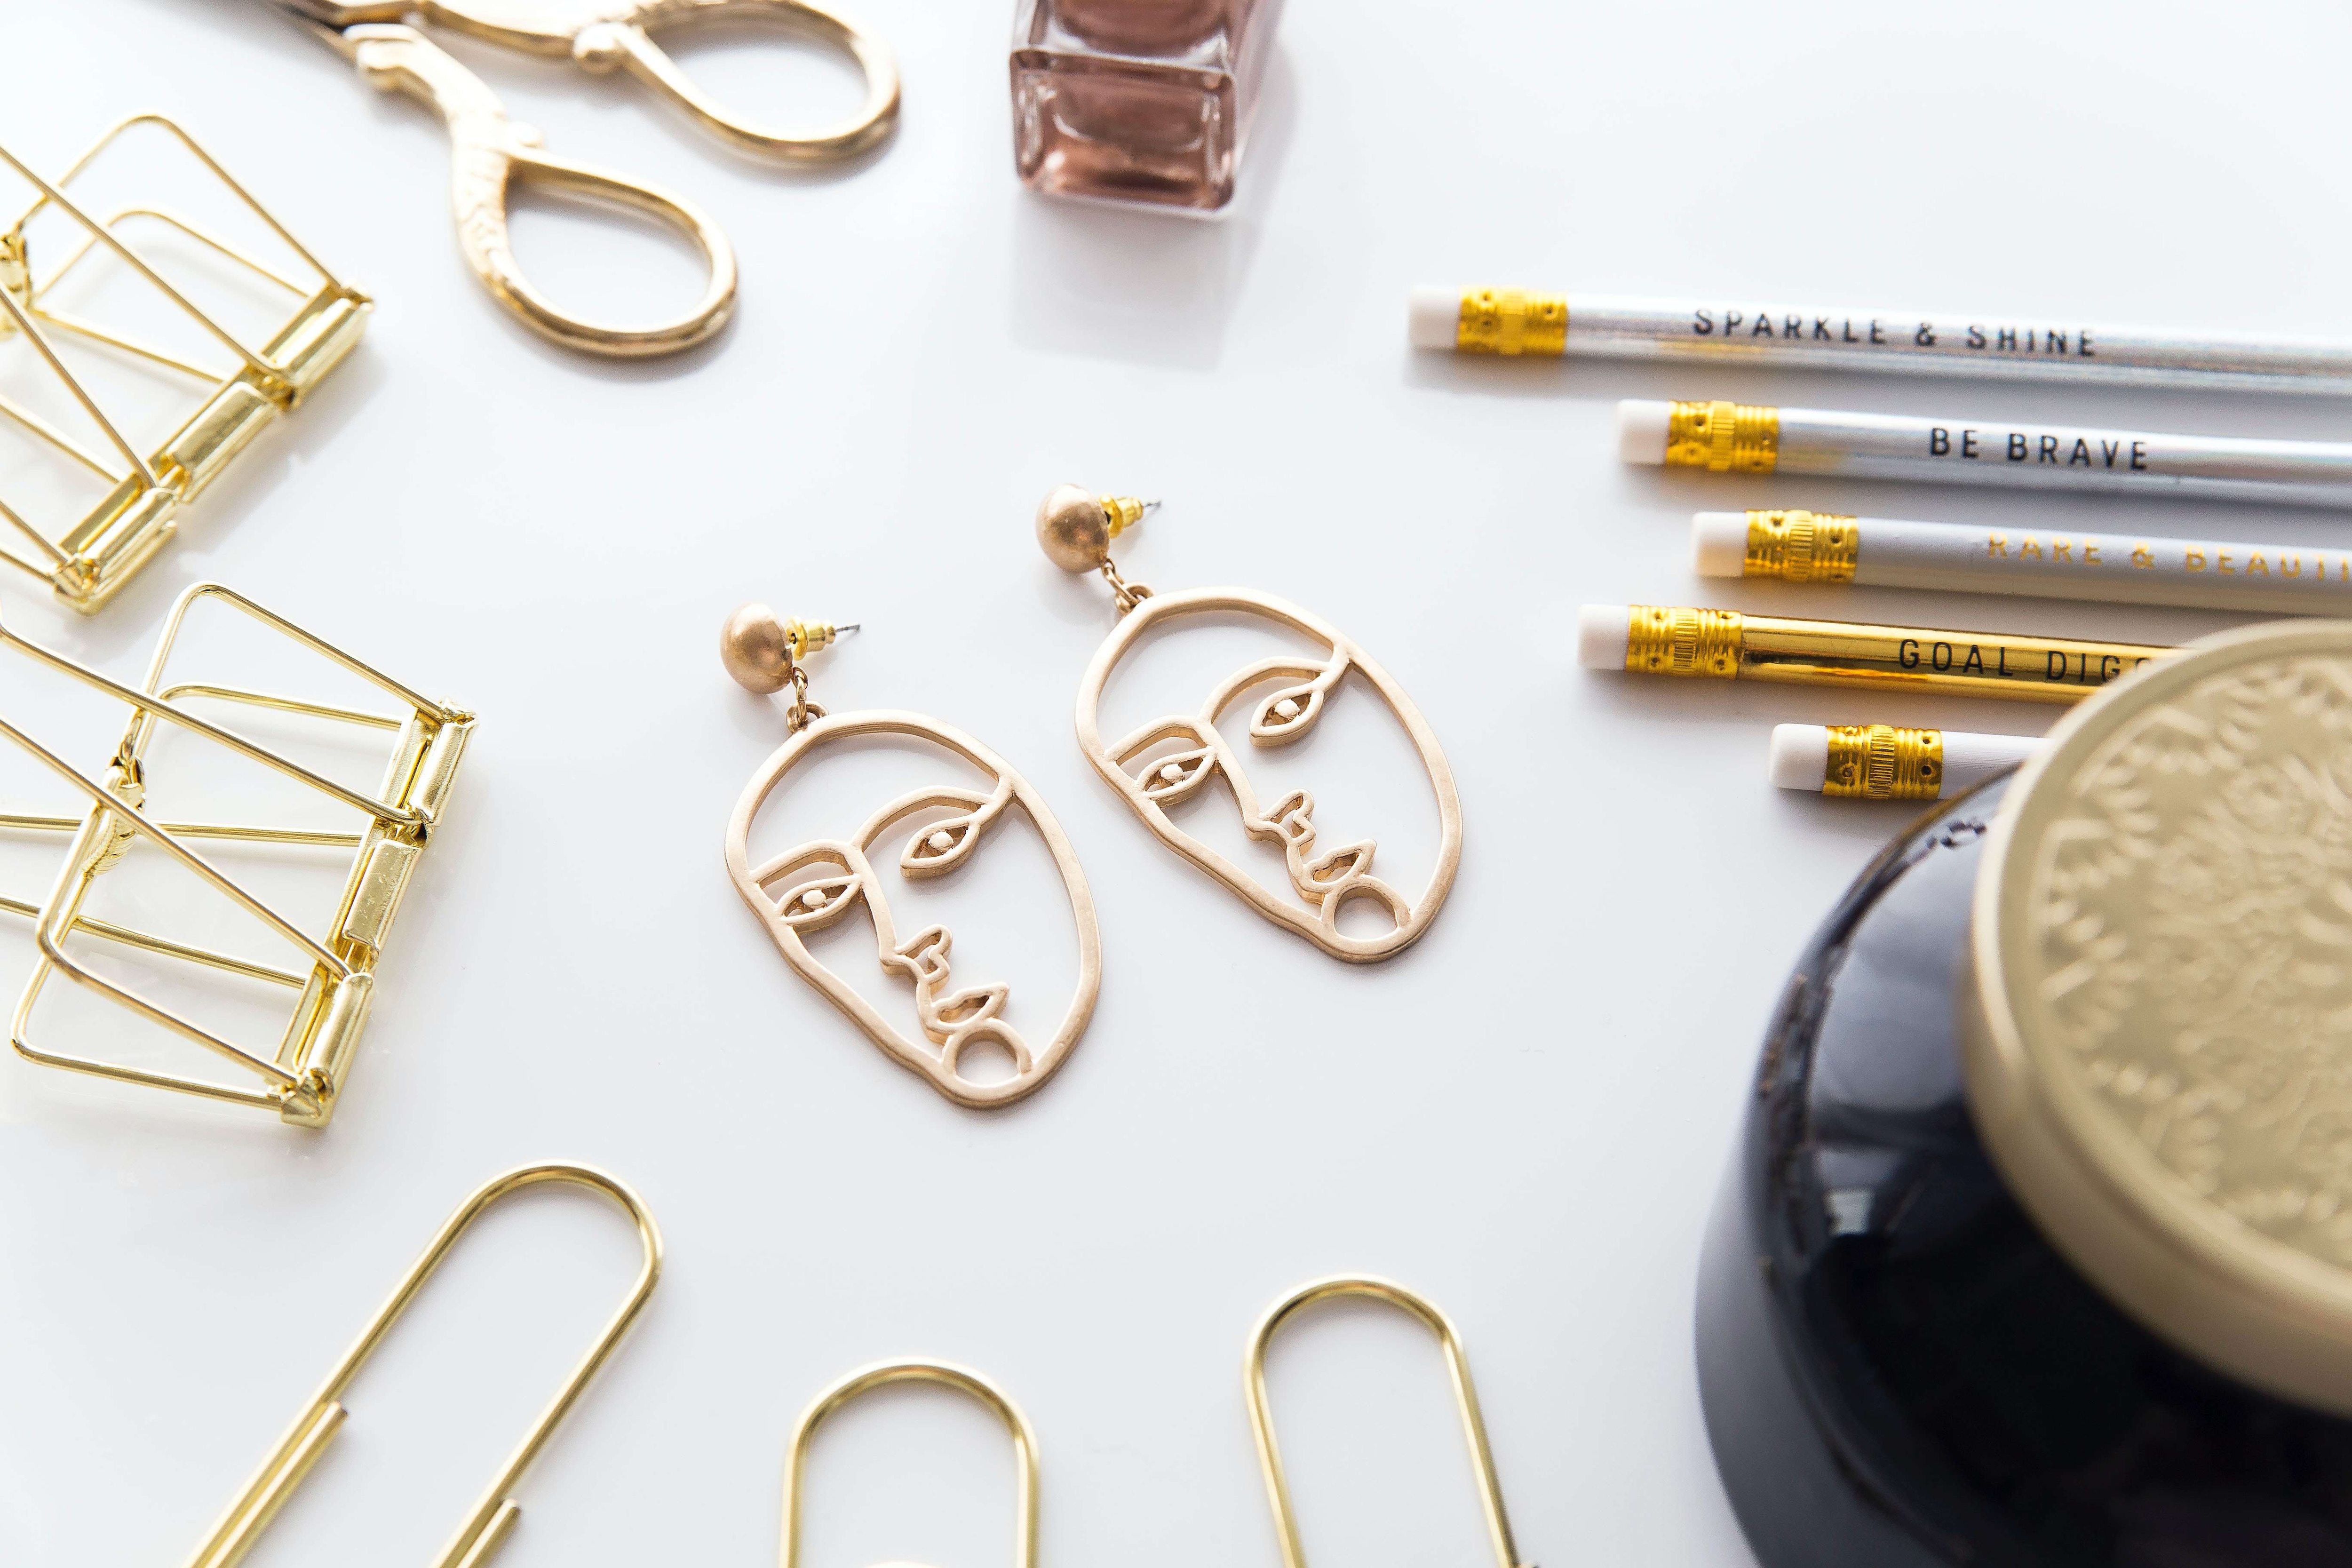
Unless you’re doing product photography for an ecommerce website, you’ll always want to use at least some props in your earrings photoshoots. Even a simple thing, such as a flower or a few pebbles, can breathe new life into your photos and make them more eye-catching.
5. Consider the Earring Style to Make Something Authentic
Authenticity is what will make you stand out against your competitors. So, to make your earrings photos look more authentic, consider their style, then use suitable props, color splashes, backgrounds, and environments that match it.
6. Show Scale With Your Photos
Finally, make sure to show scale with your earring photos.
With close-up photography, it can be difficult for prospective buyers to envision the true scale of the earrings. So, find props that will help show their actual size. Common everyday items like a rose flower, a perfume bottle, or even a smartphone placed by the earrings can help your customers accurately envision the scale of the earrings.
Conclusion
Earring photography takes a lot of hard work and dedication, but it’s all well worth it. With high-quality photos, you’ll find it easier to attract customers, increase your website traffic, and improve sales. Not to mention, you can seamlessly grow your brand and stand out against the competitors.

